 the temperature was just barely above freezing but i was hoping it was warm enough to start my motorcycle, which had been parked outside since sunday night. of course we had a few nights where the temperature dipped into the teens, so it didn't surprise me when the bike failed to start after i pressed the ignition button.
in the past this meant i had to pull out the battery and charge it up indoors (takes several hours with the trickle charger), but this time around i had a better solution: the portable jump starter. i'd already tested it on sunday when i couldn't start the bike after it's been in storage in the garage for a few weeks. but that was under controlled conditions. this time around was a real case scenario, the very reason why i purchased the jump starter in the first place back in february.
i used a hex wrench to remove the bike seat and then a screwdriver to take off the plastic battery cover. i clamped the alligator clips to the terminals then plugged it into the lithium ion battery pack. it took less than a second for the led to turn green, which was the signal to try the engine. with the choke turned on, a simple press of the ignition brought the motorcycle to life. after reassembling the bike, i left it running outside while i ran into the house to grab my things. after the engine had been running for a few minutes, i turned it off then back on to test if i could restart the engine. this meant the battery was okay (or at least enough charge to start the engine), just needed to be warmed up.
i went to the speedway gas station on mass ave first to fill up the tank. in the 4 minutes it took me to ride there, my hands were freezing. i should've brought the handlebar mitts! they look ridiculous but at least they keep my hands nice and warm. after fueling up, i held my breath as i restarted the engine. i was afraid the battery would need another jump, but the engine roared to life as i sighed in relief. from there i went directly to my parents' place.
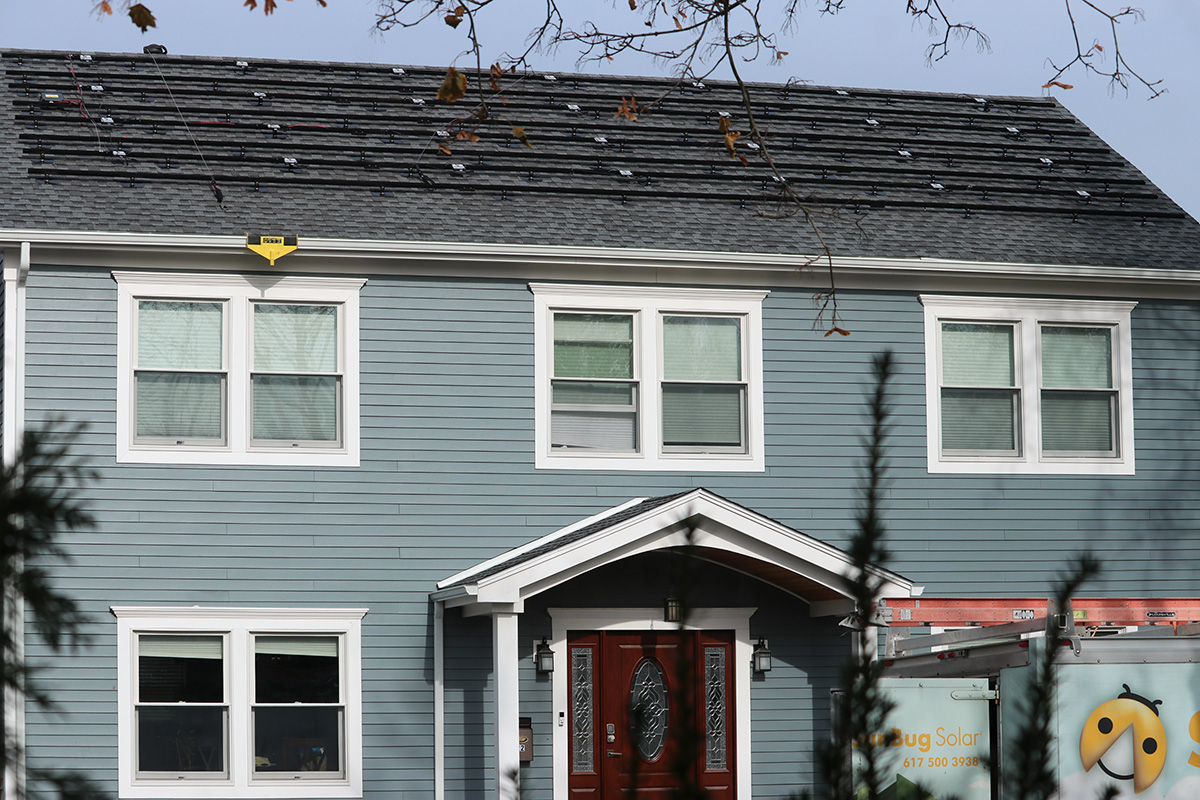
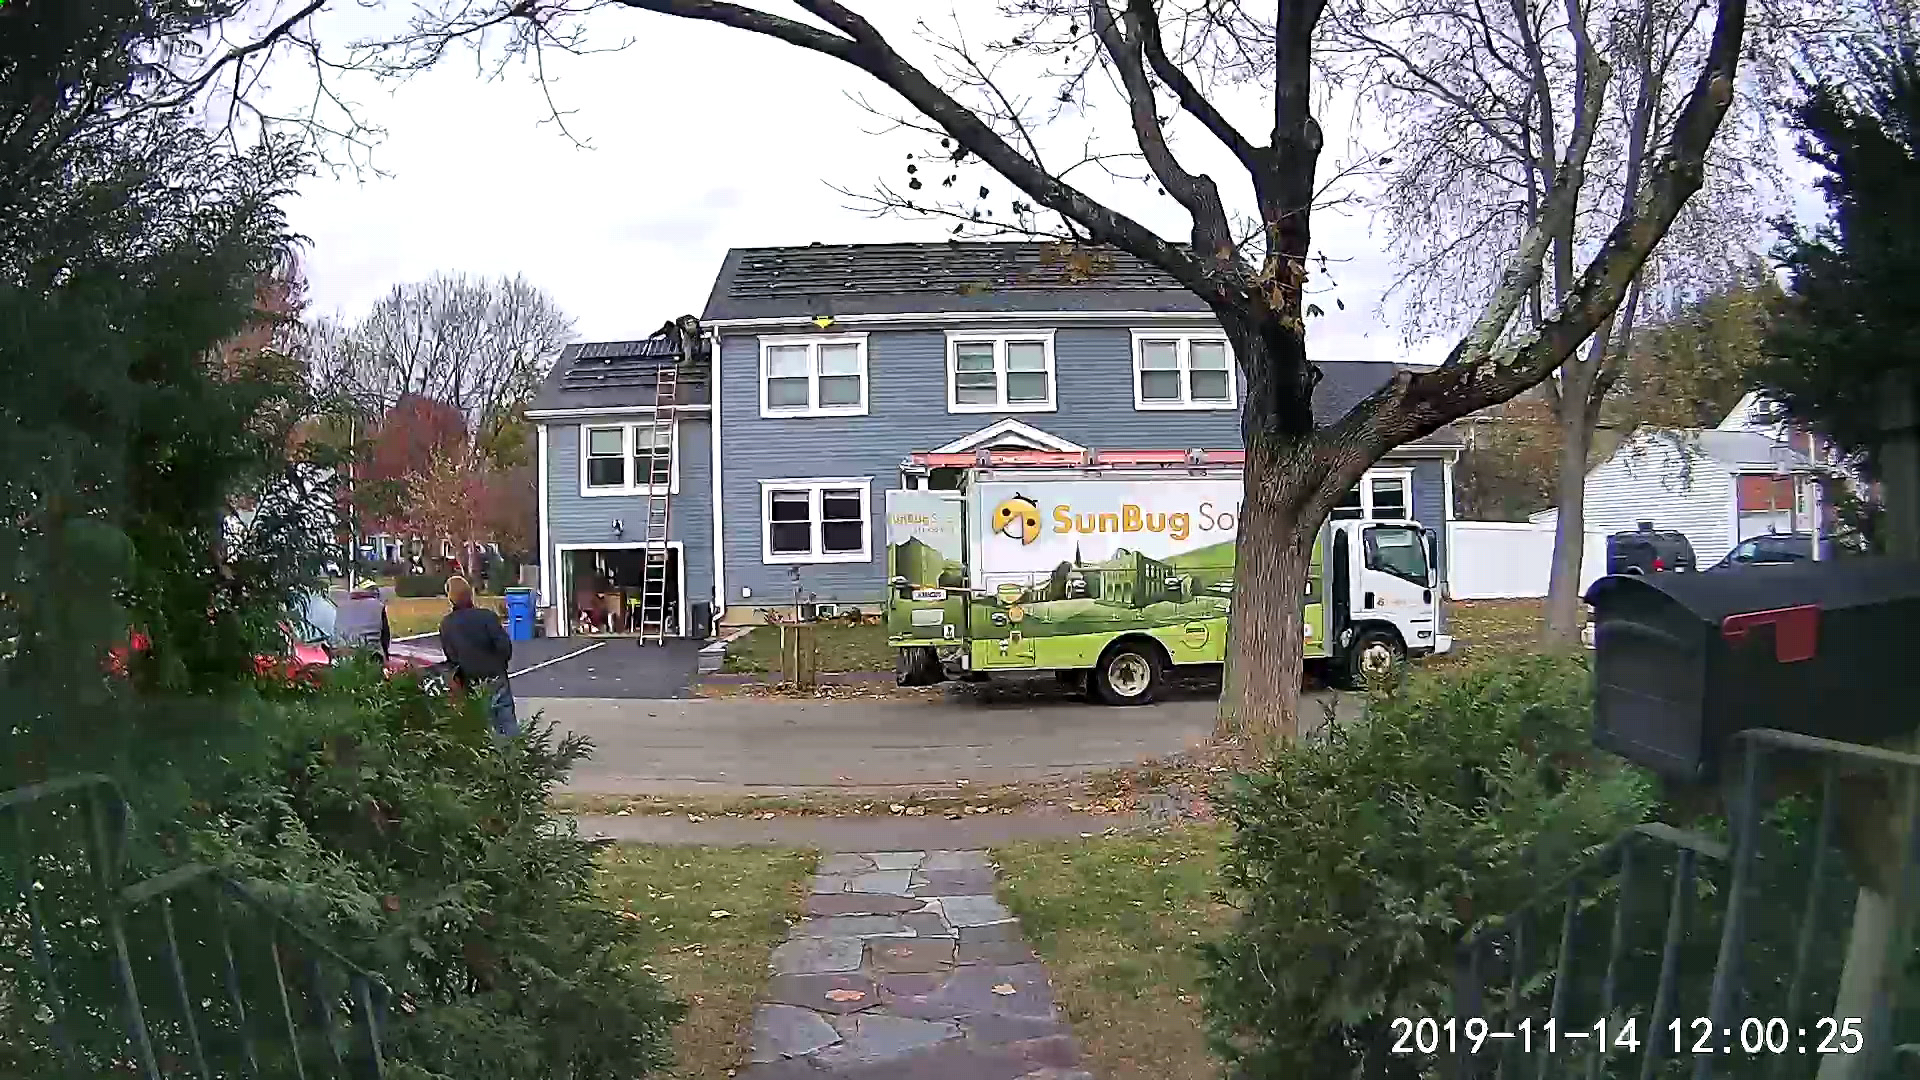
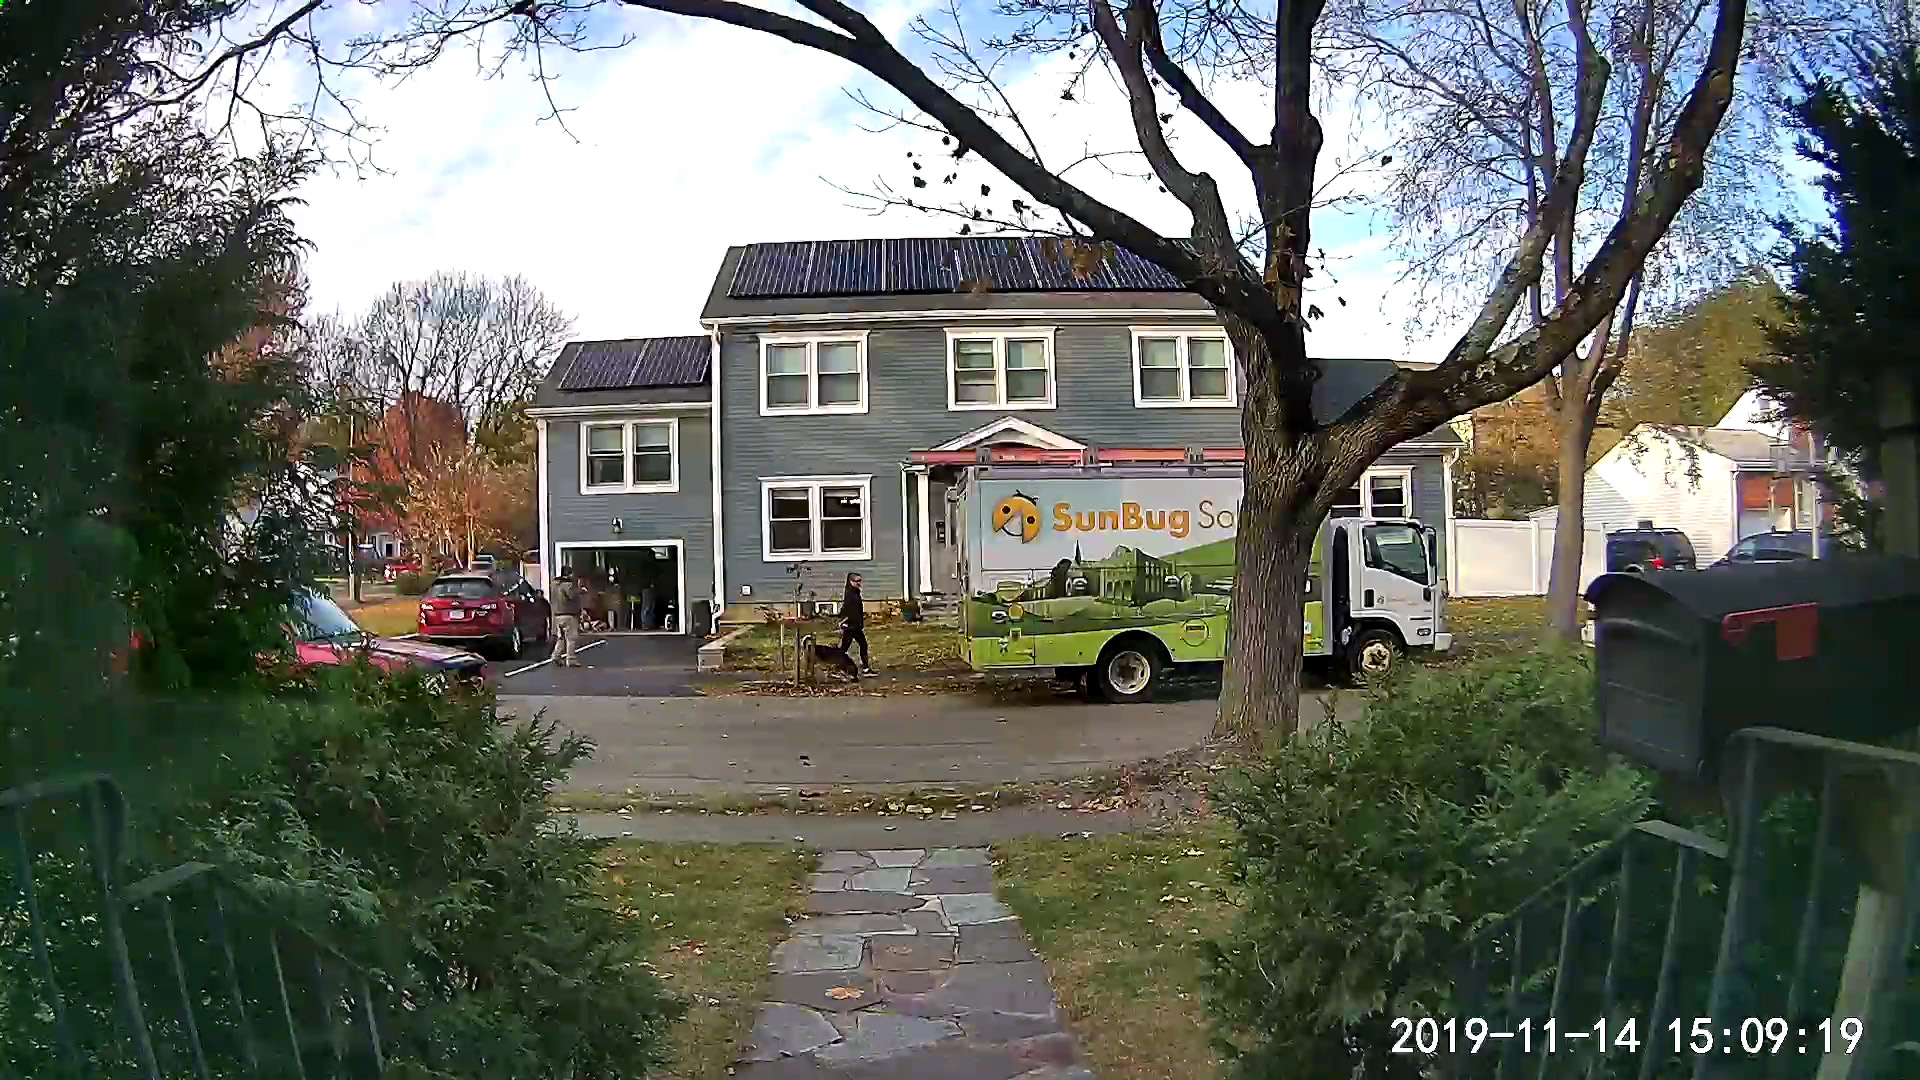
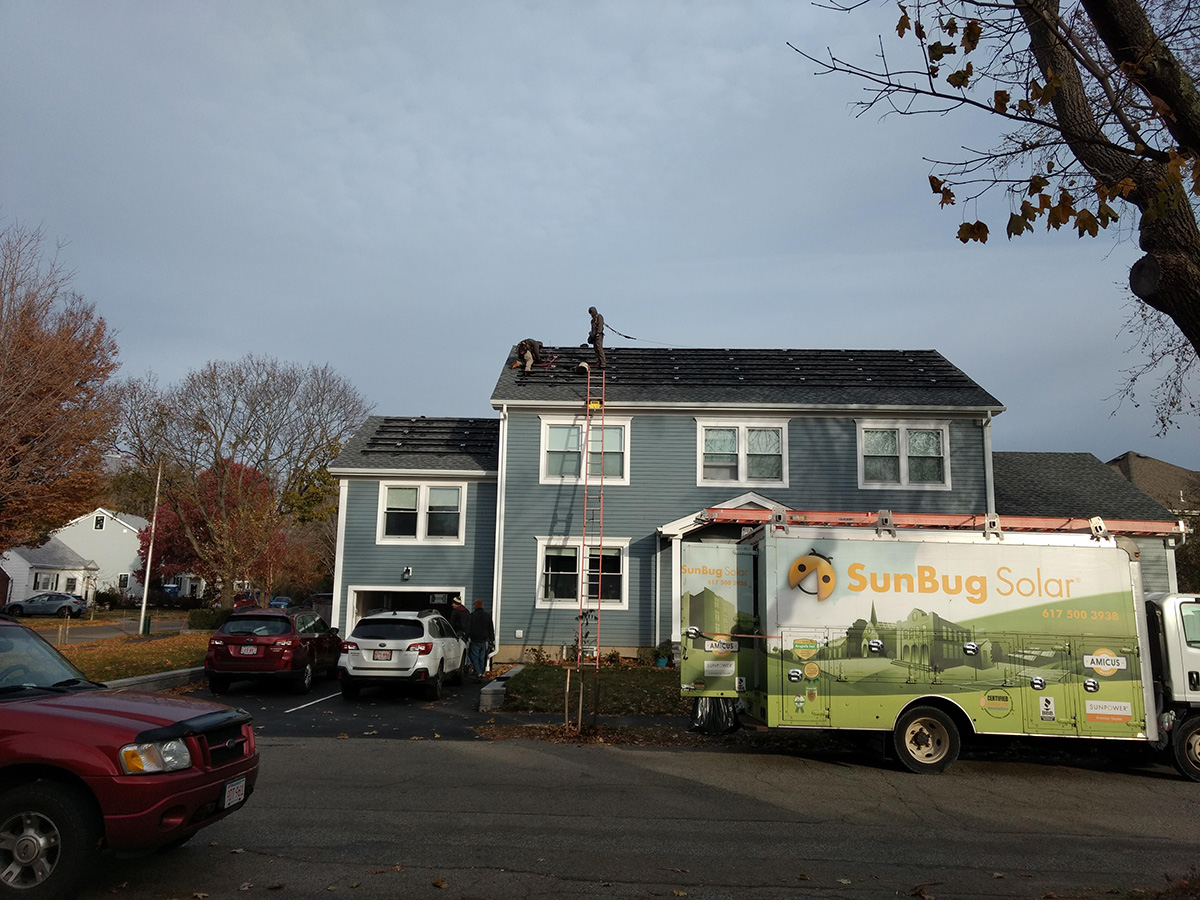 my hands were killing me by the time i arrived. it took 10 minutes of warming up before i could feel anything in my fingers. the reason why i was here was to set up the front door wyzecam so it could get a better view of the opposite door neighbors' house. my father sent me a photo this morning. not only were they installing panels on the main roof, but also above the garage as well. from the looks of it it seemed they were already done installing all the racks. all that was left to do now was to add the solar panels. i thought it'd be cool if i could get a time lapse video of them finishing up.
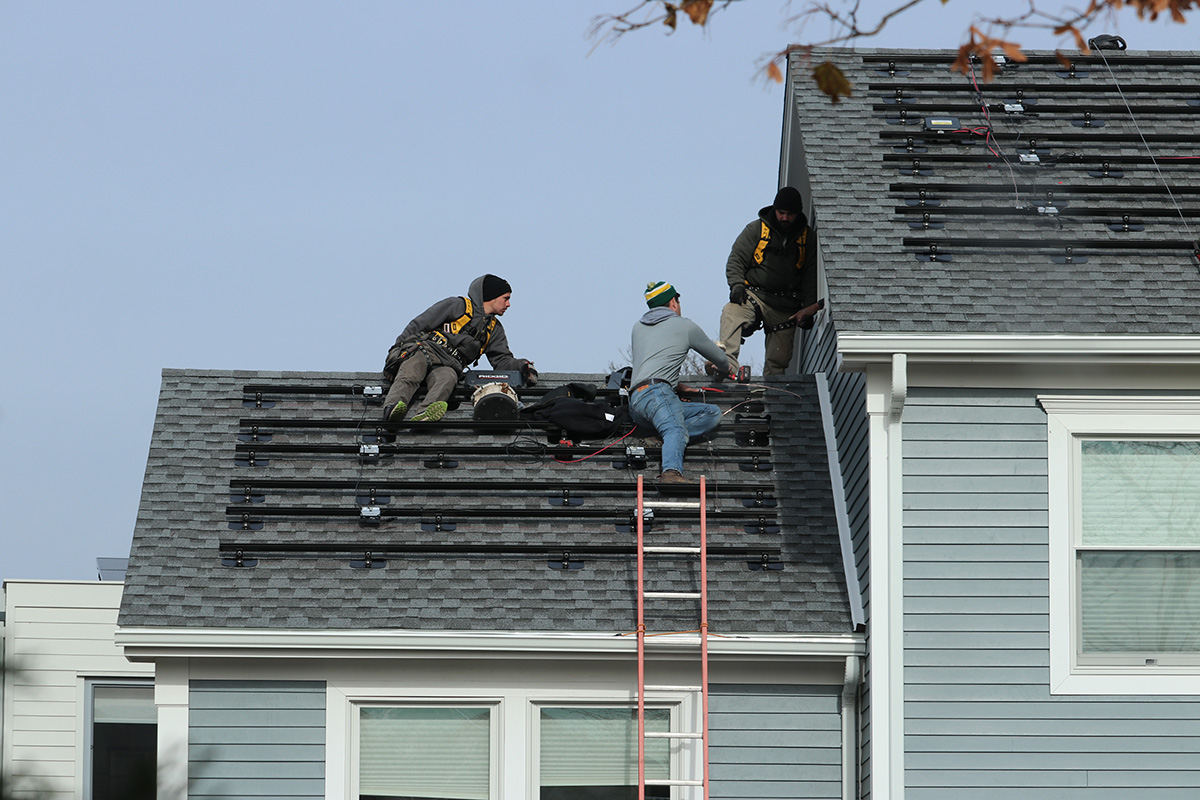
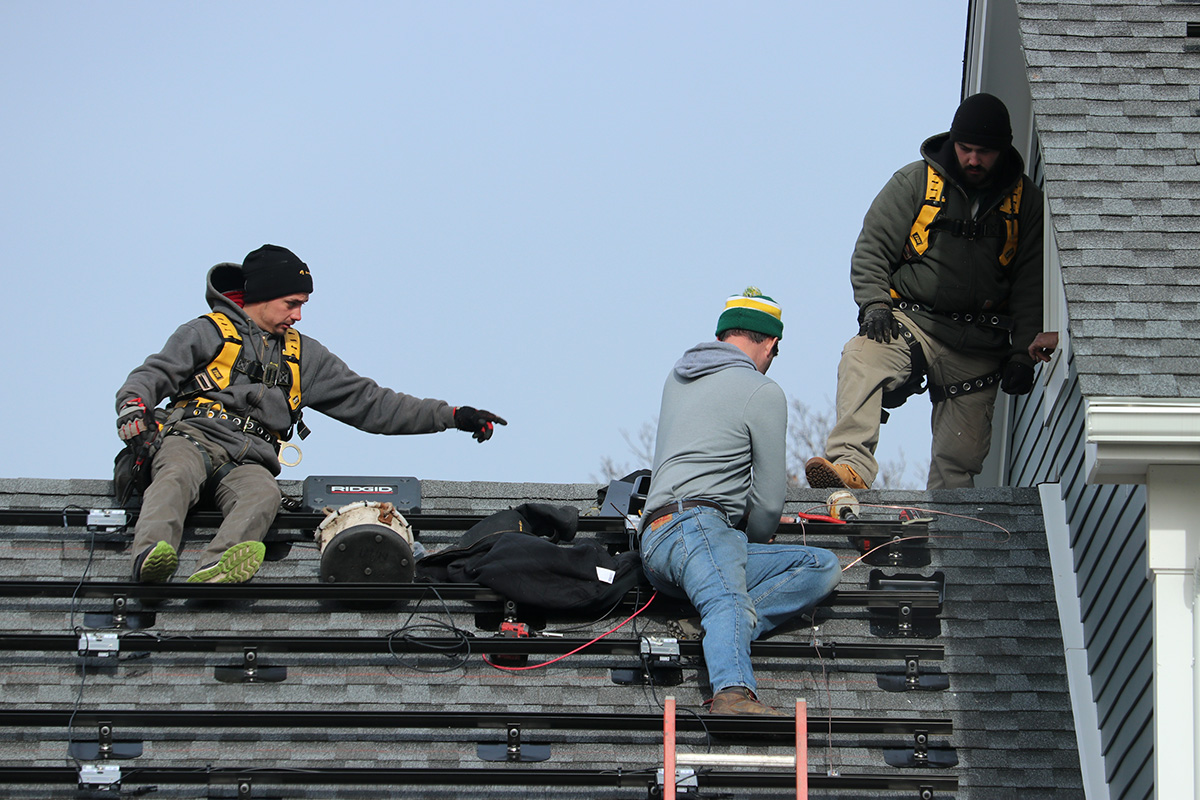
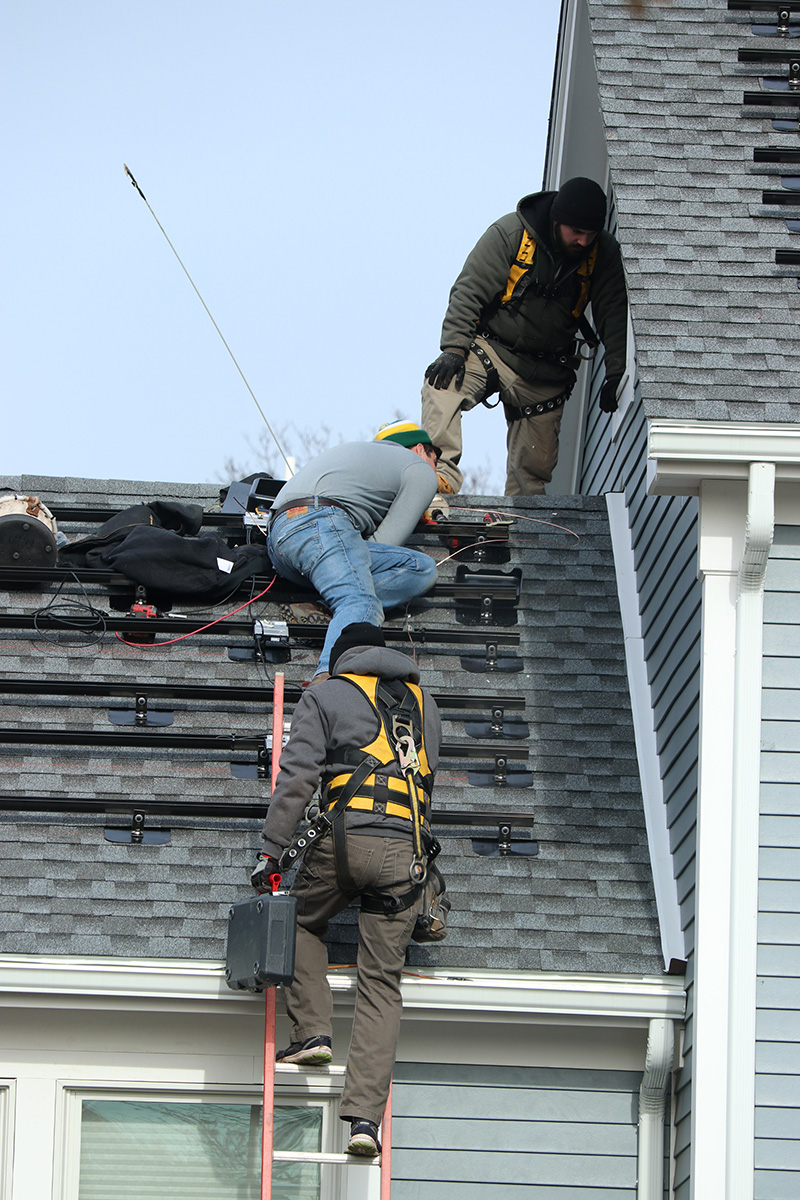
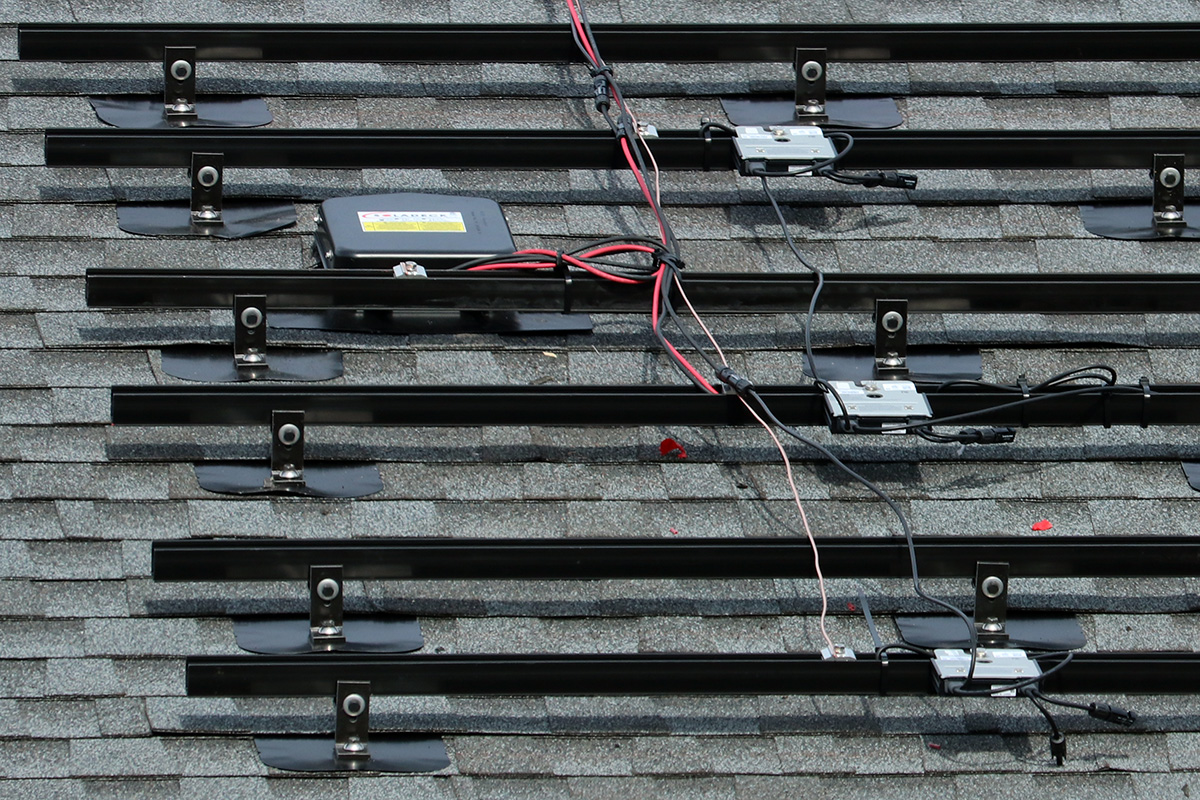
i was afraid i'd missed the panel installation, but they hadn't even started yet, still doing the wiring on the racks above the garage. from the bedroom window i observed them working through my telephoto lens. my father had figured out that each of the silvery nodes was were the solar panels would be placed. based on the number of nodes, there was going to be 28 panels on the main roof while 6 more panels above the garage. no panels on the roof above the guest bedroom, primarily because a sidewalk silver maple tree grows right in front of it blocking the sun. from telephoto closeups i could tell these nodes were actually solaredge optimizers (instead of enphase microinverters). i also saw a box with a "soladeck" label which i learned is a rooftop pass-through enclosure, which meant the conduit to the actual inverter itself was inside the house (most likely through the attic space) instead of outside (like it typically is).
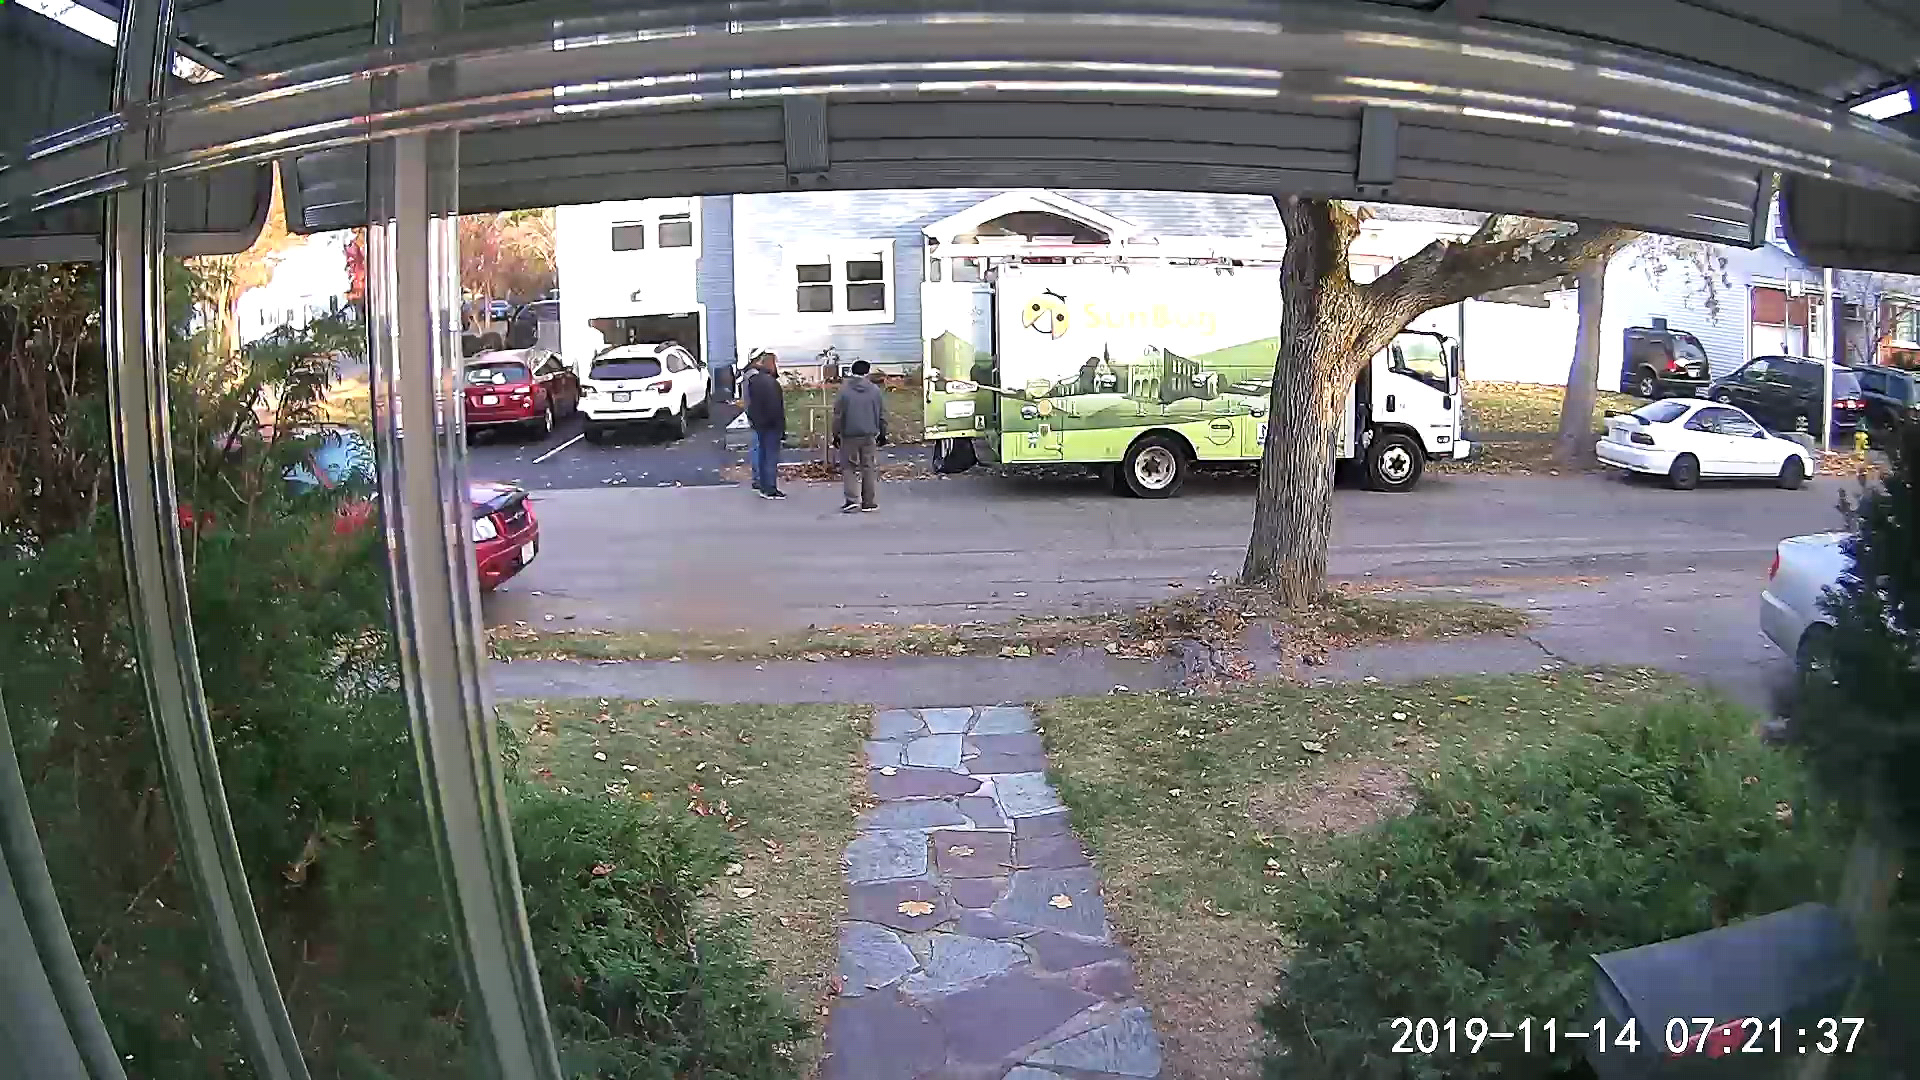
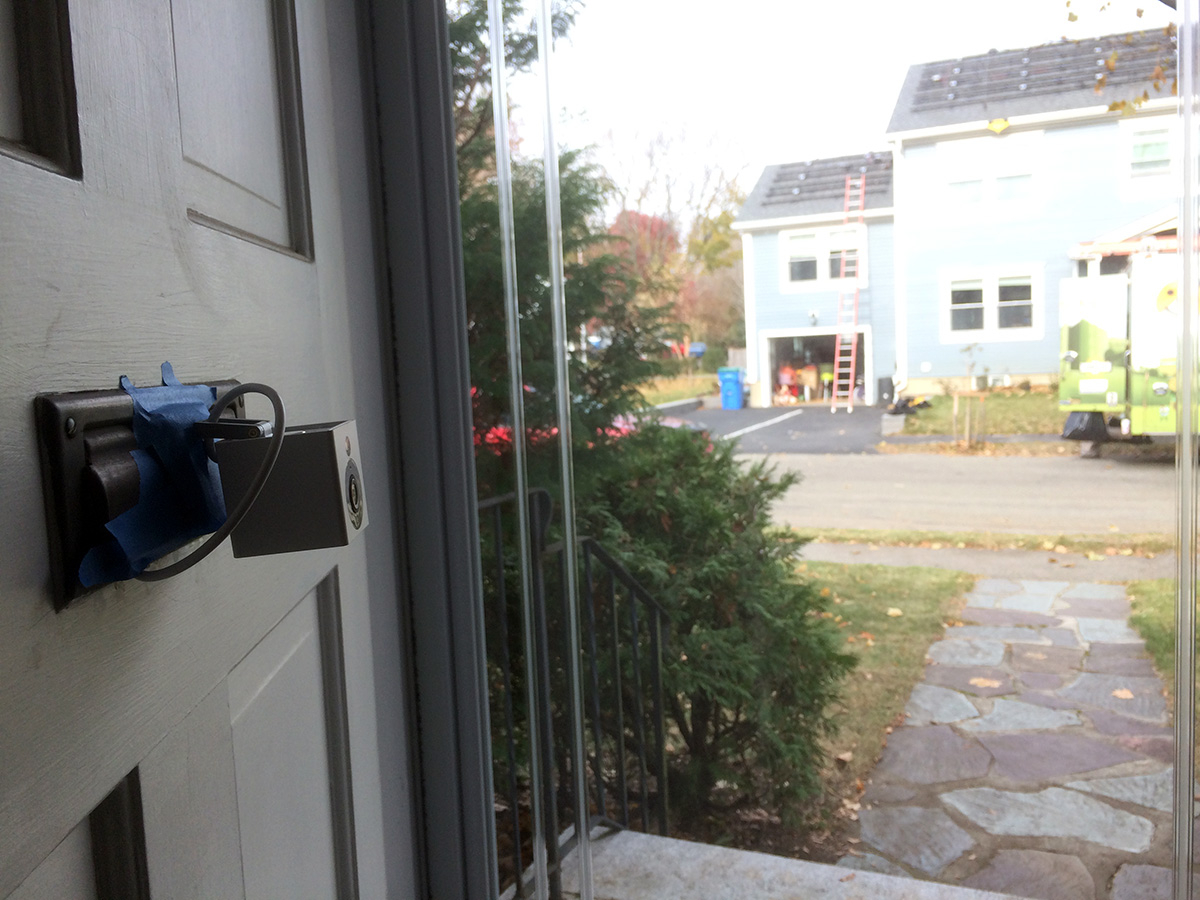
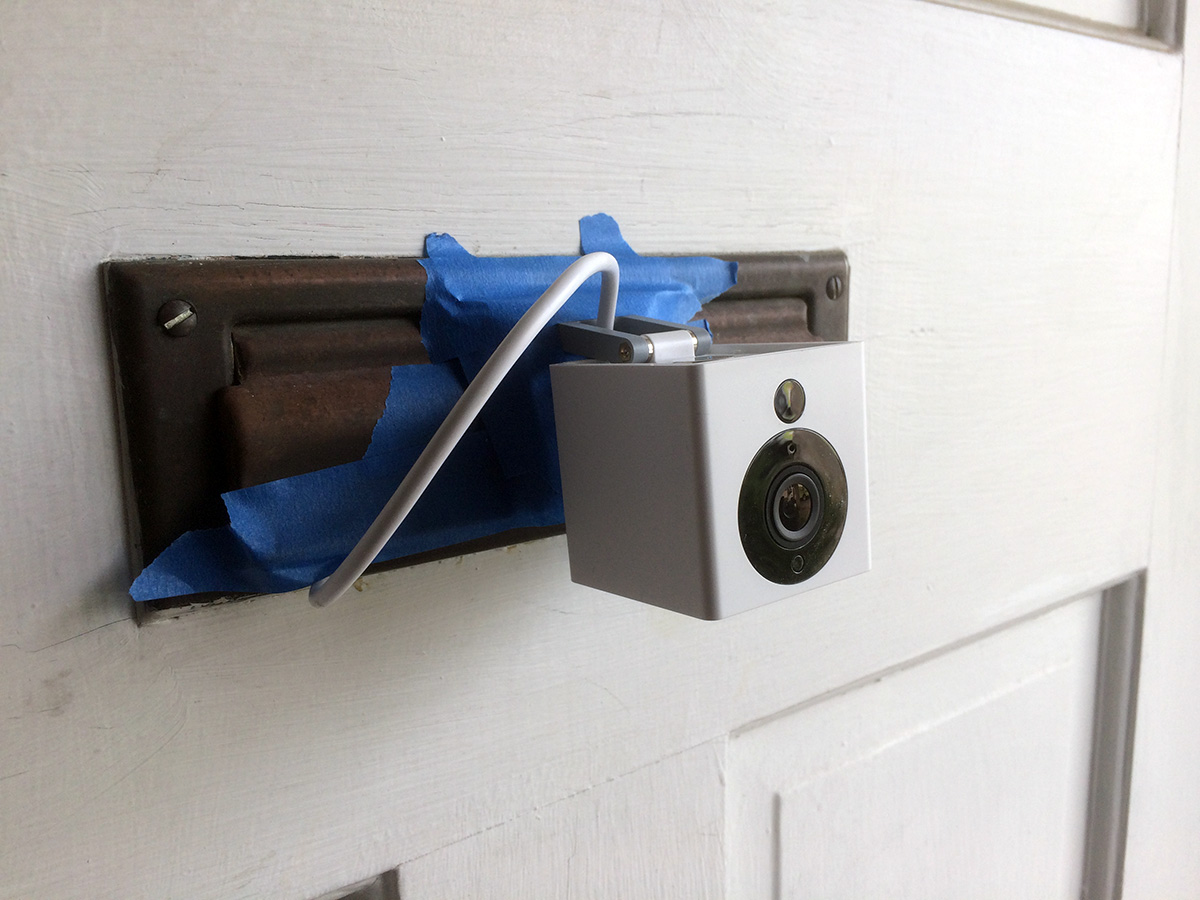
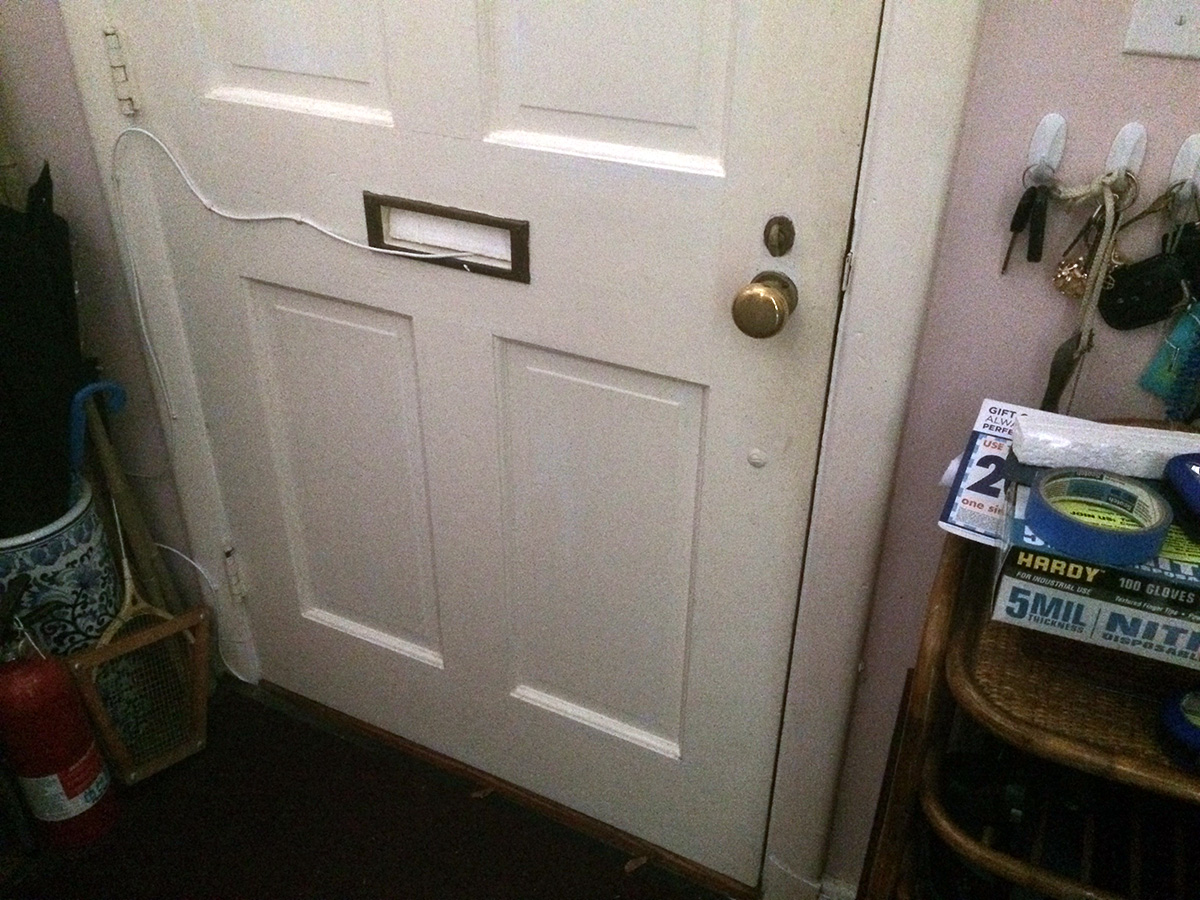
i relocated the front door wyzecam by taping it to the unused mail slot with blue tape. it looked conspicuous, but this was just temporary, so i could get some footage. the power cord i snaked underneath the floor mat and taped it across the back of the door, poking out of the mail slot. i figured they weren't going to install the panels today because i didn't see any panel deliveries and those usually are done in the early morning.
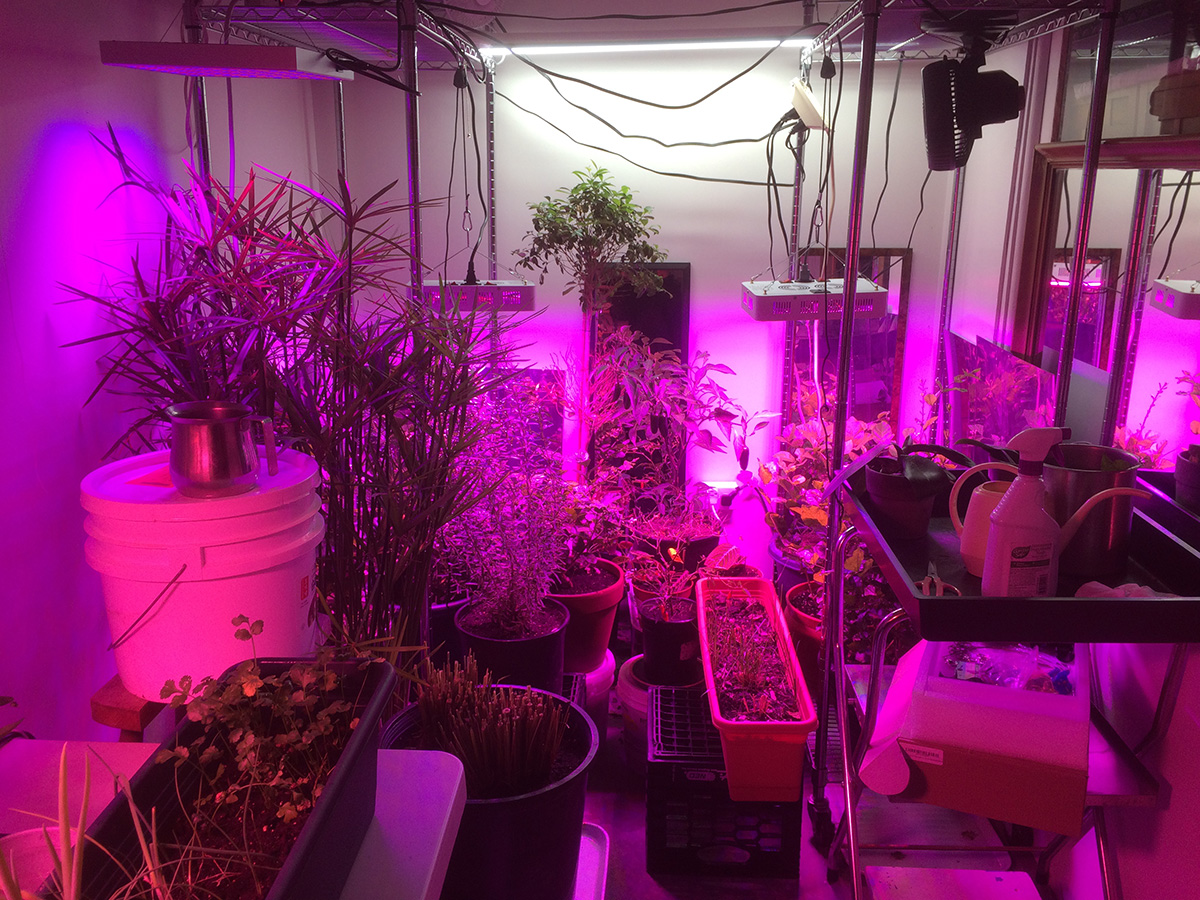
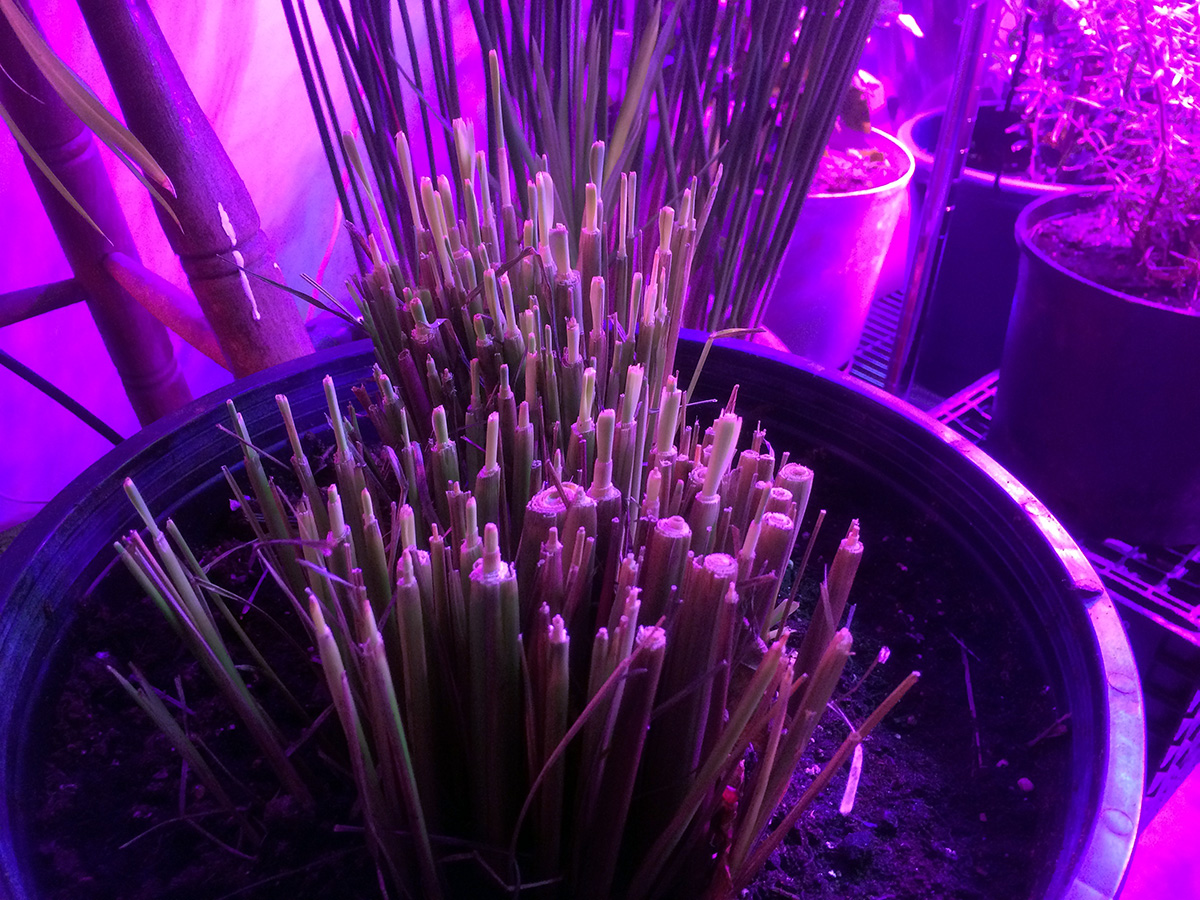
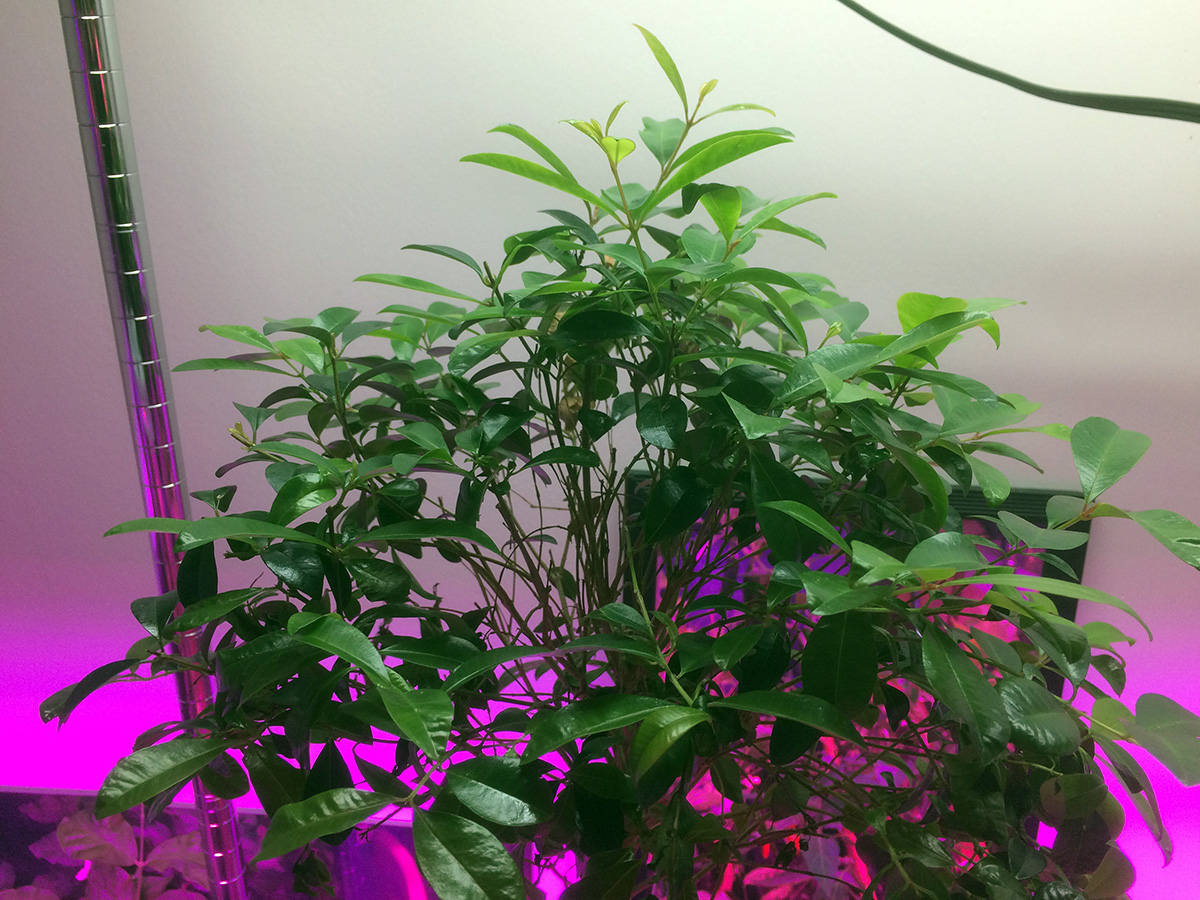
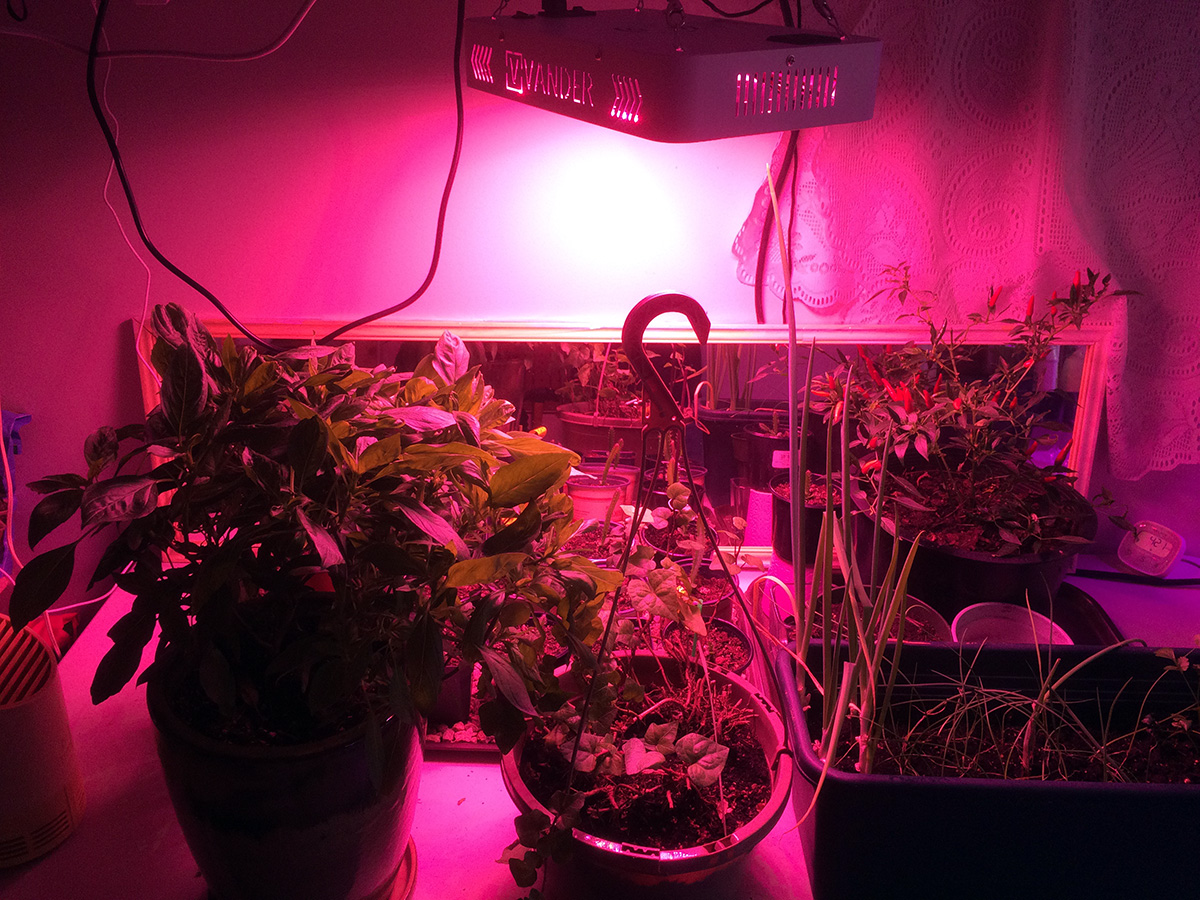
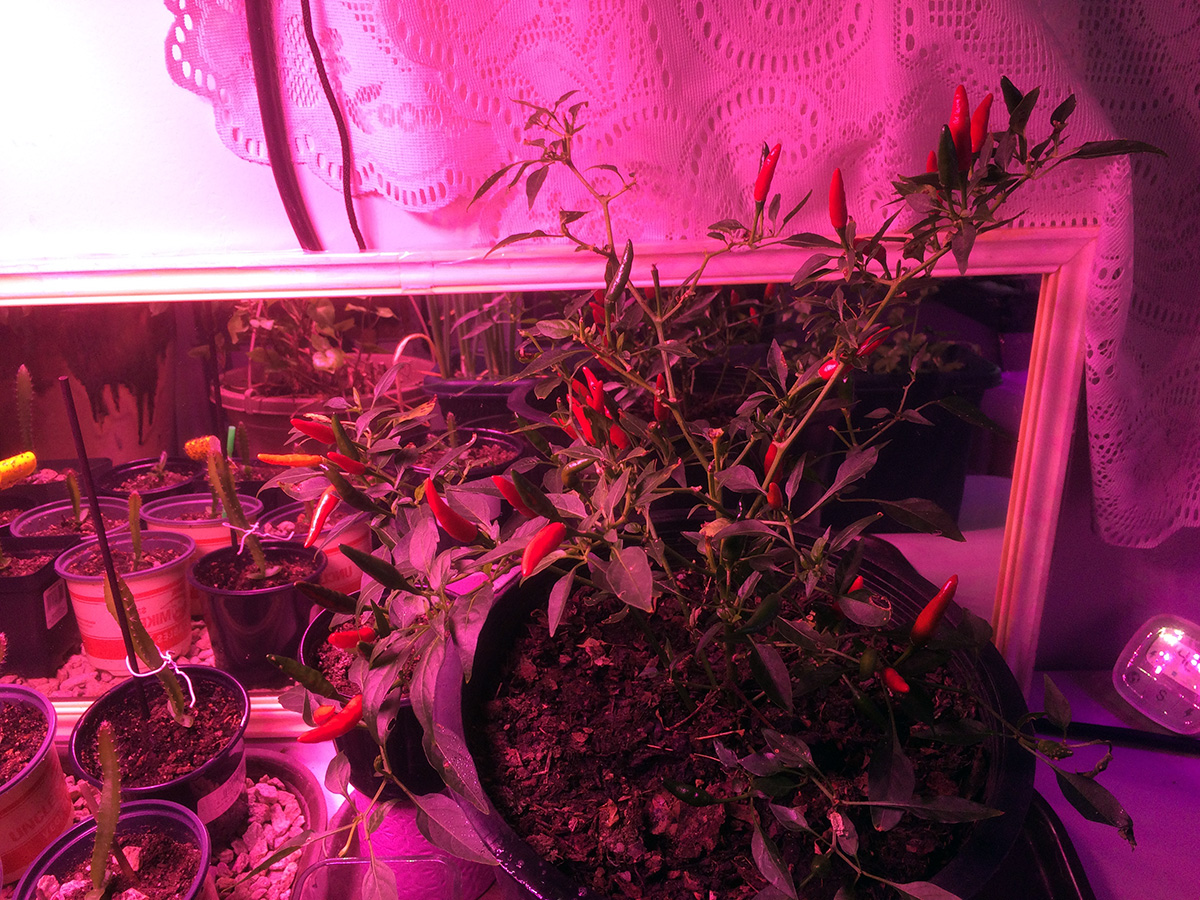
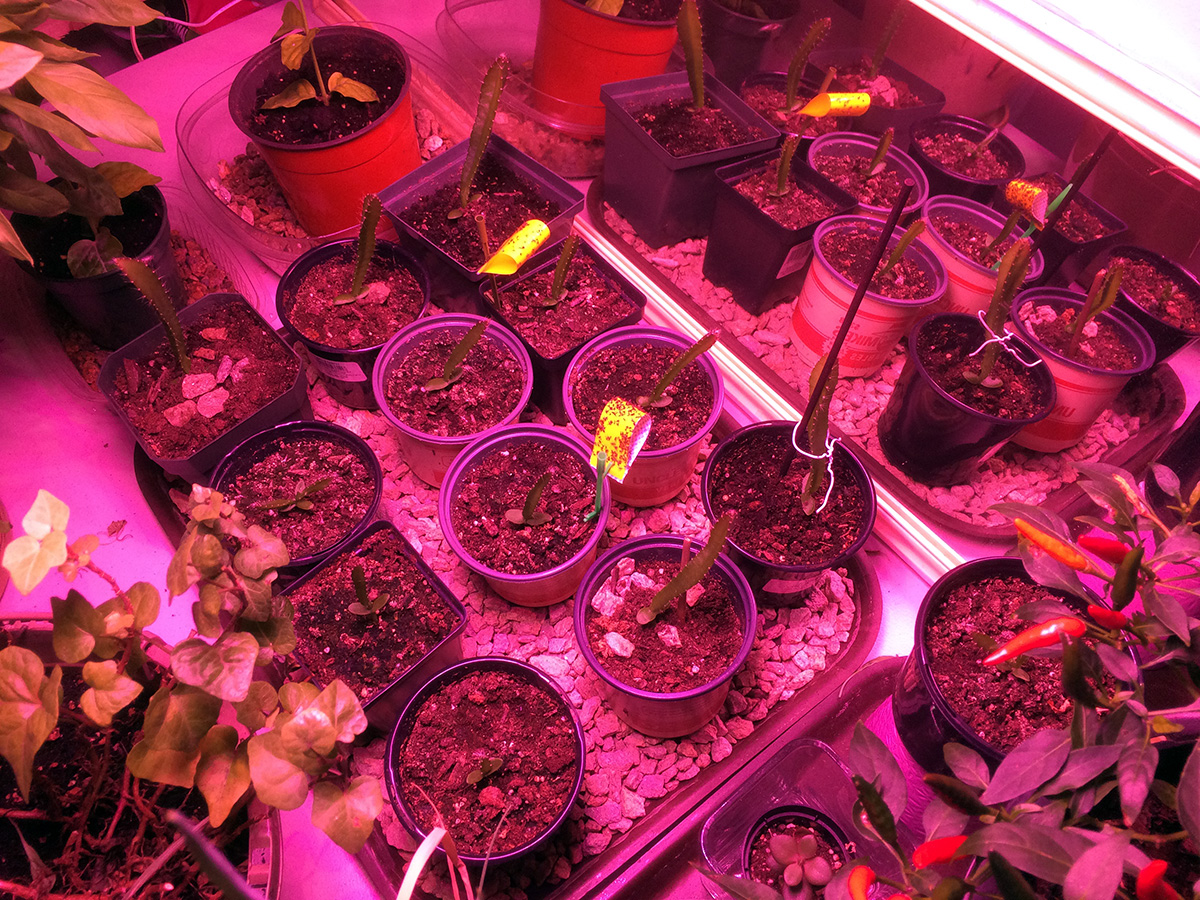
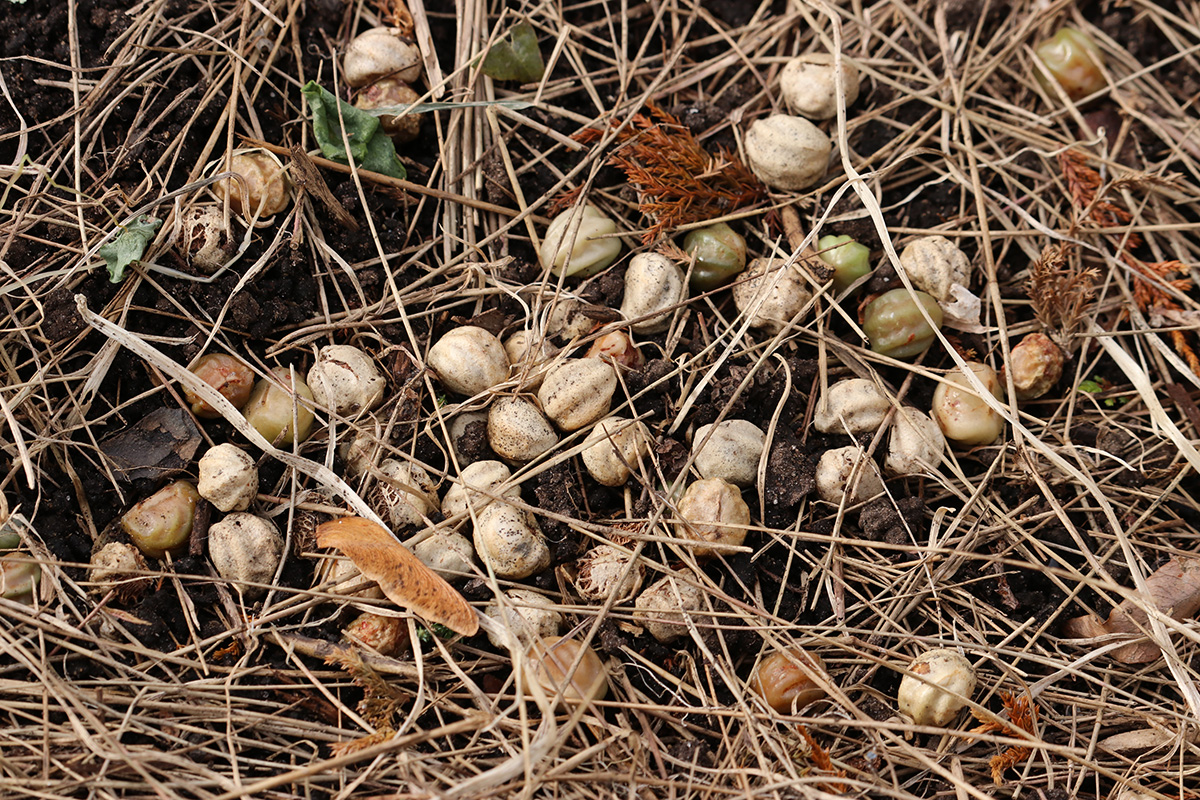
it's hard to tell under the magenta glare of the grow lights if the plants in the basement grow room are thriving or just surviving. my father has spent more time downstairs and if you ask him he'd tell you the plants are definitely thriving. at the very least they're not dying. we'd already tossed out one of the ficus topiaries over the weekend because it'd died, but the other one seems to be doing well growing under a canopy of white led lights as well as red/blue grow lights. what surprised me is seeing the lemon grass growing; i figured they'd stay dormant during the winter.
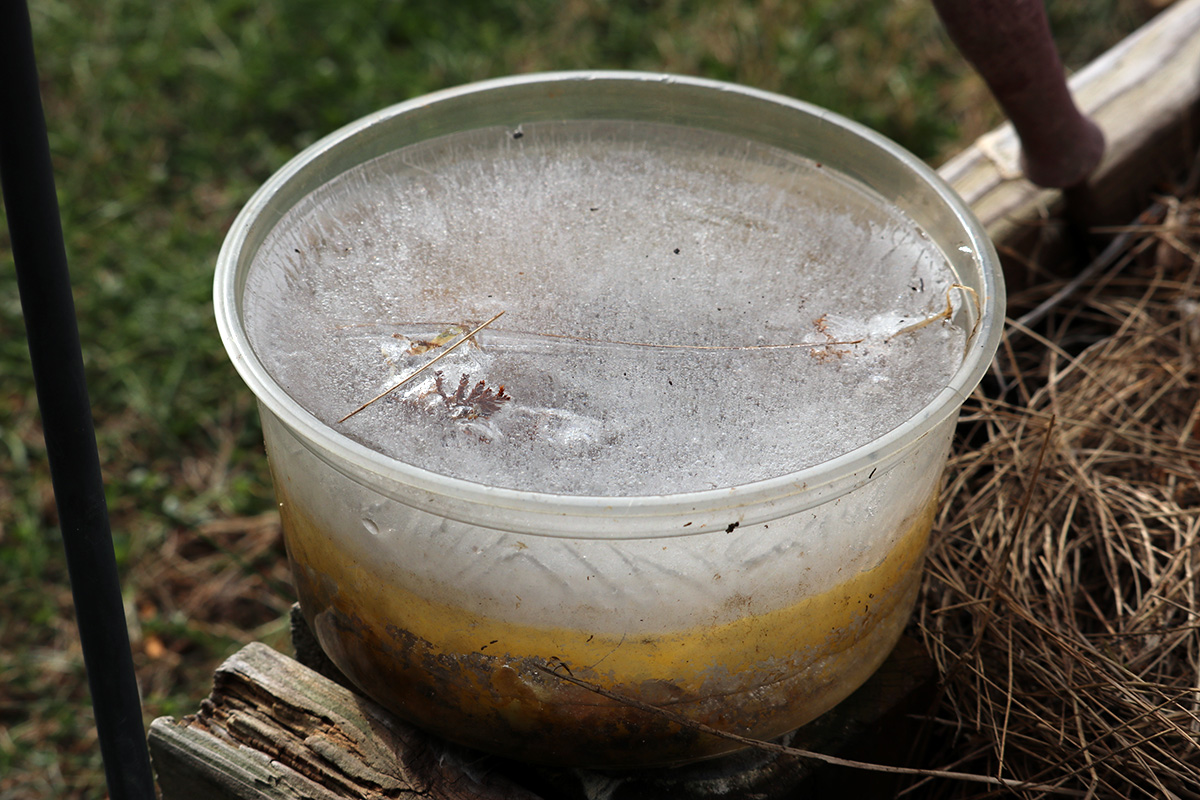
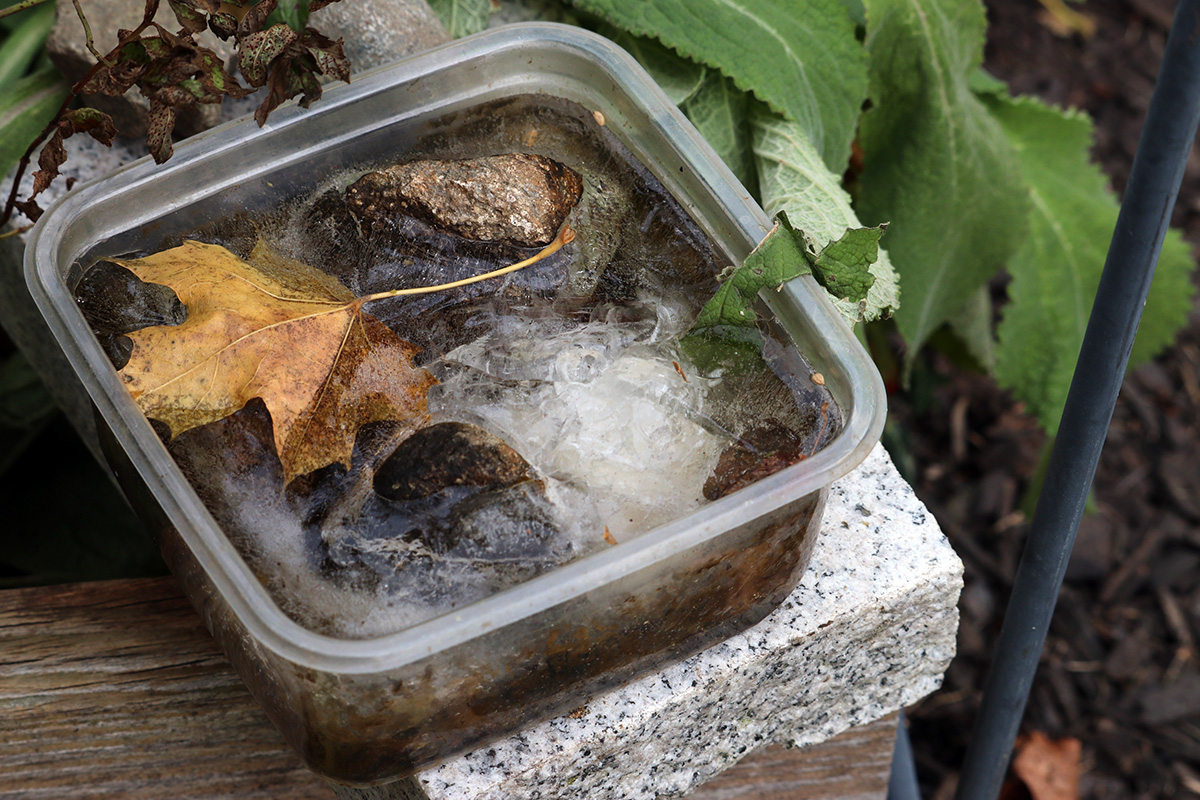
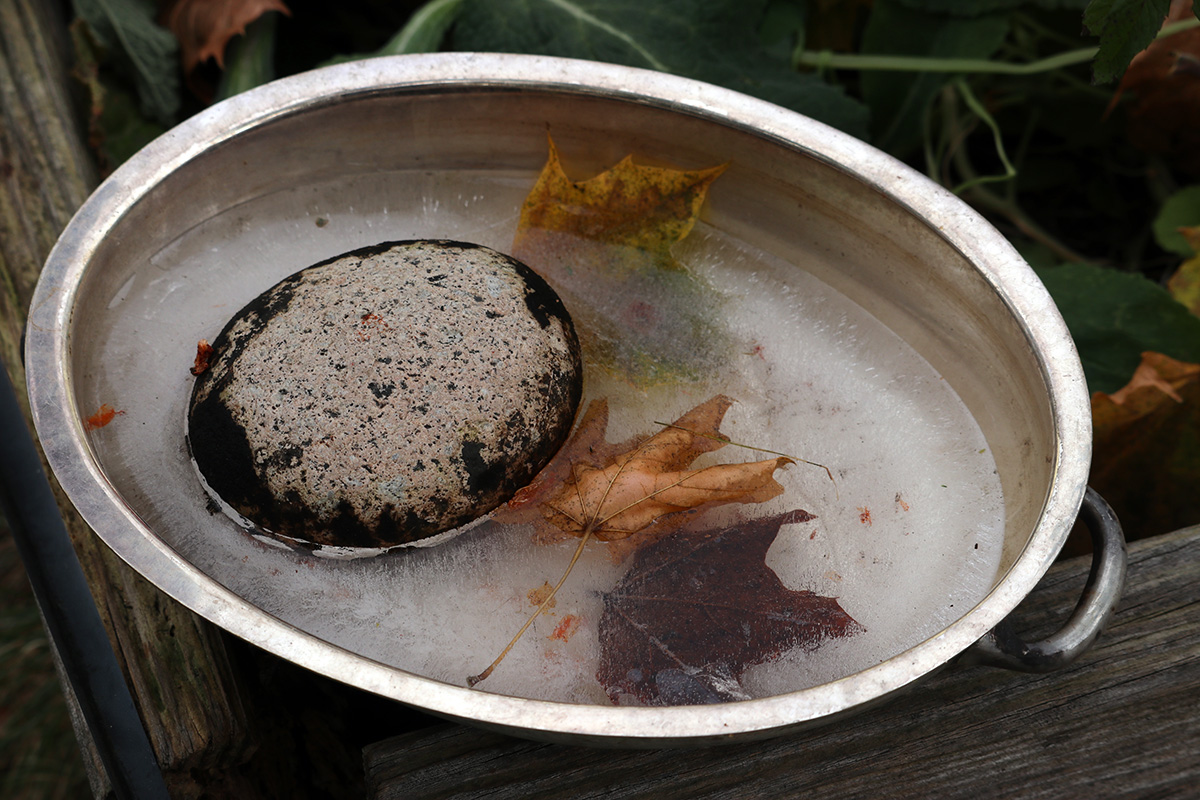
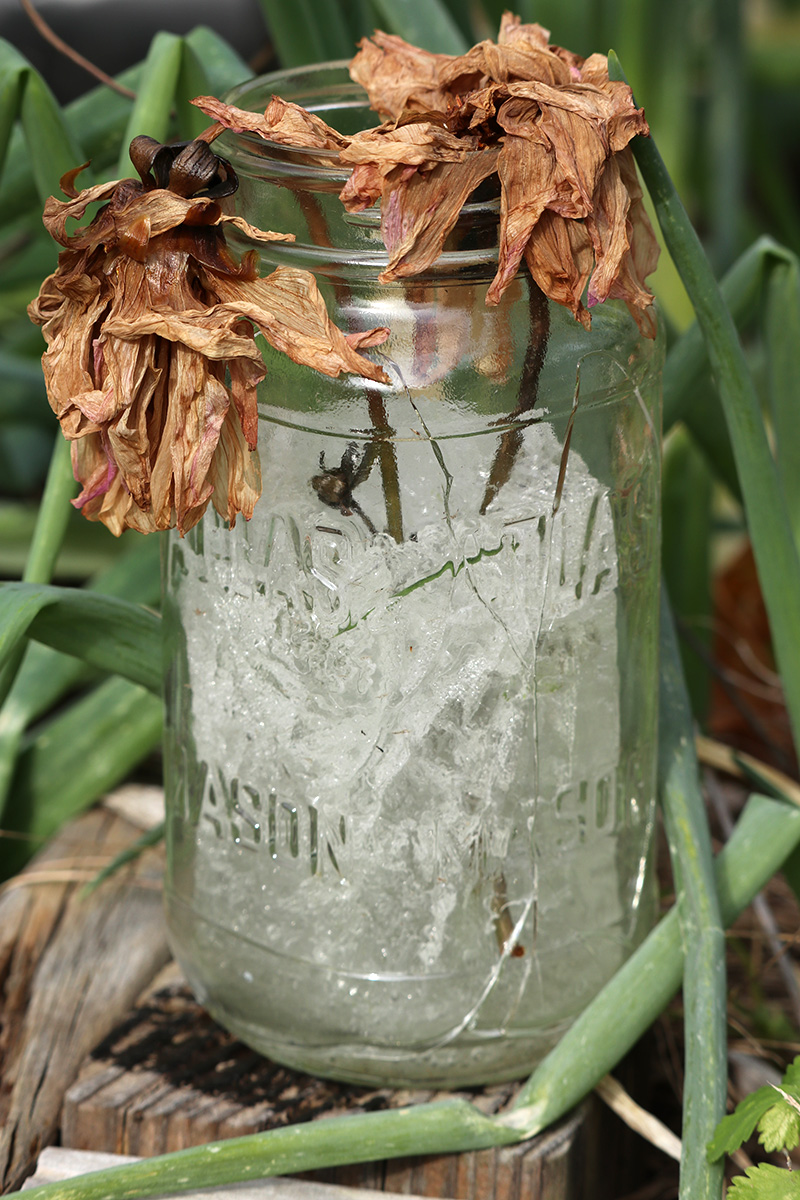
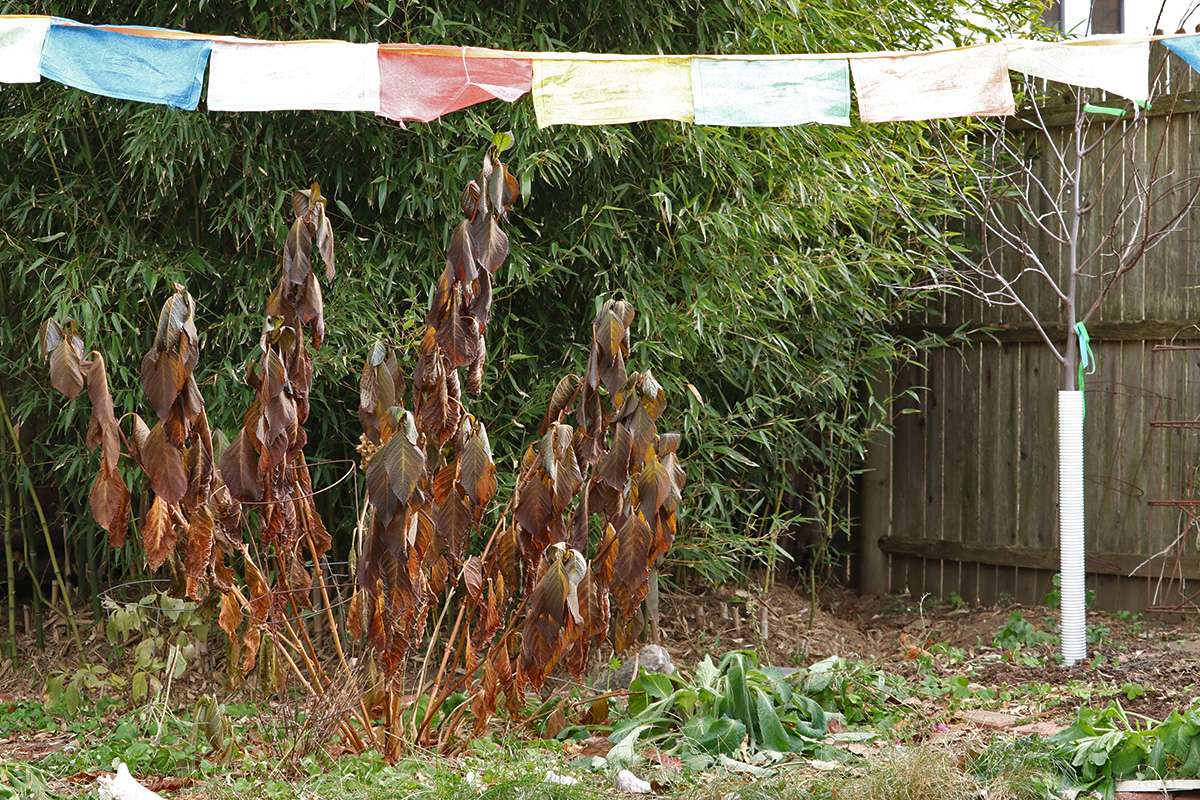
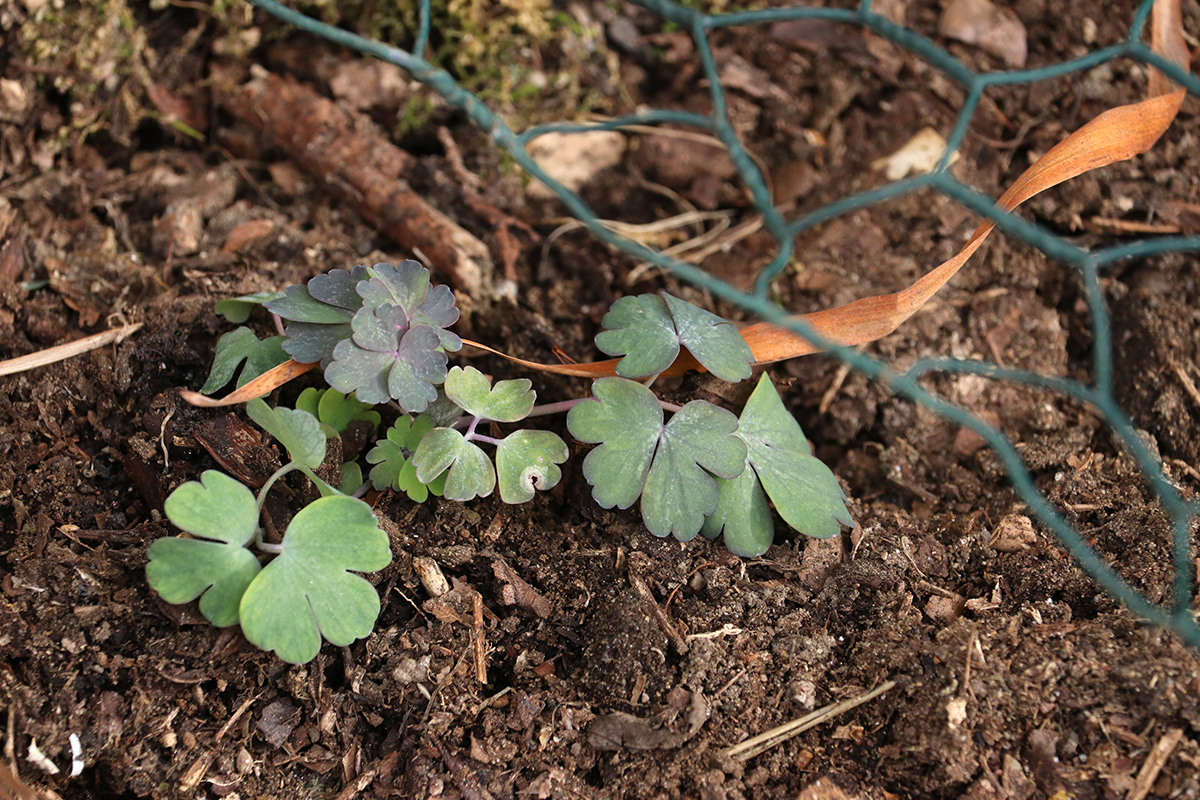
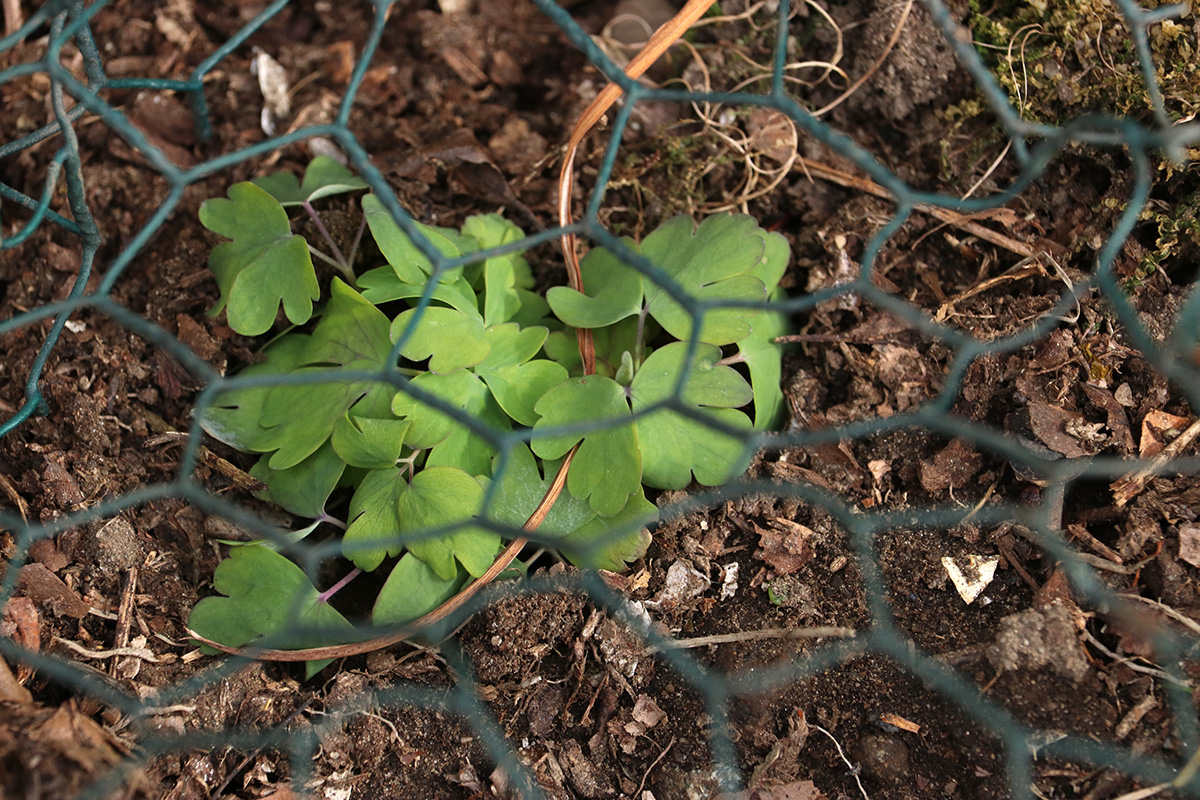
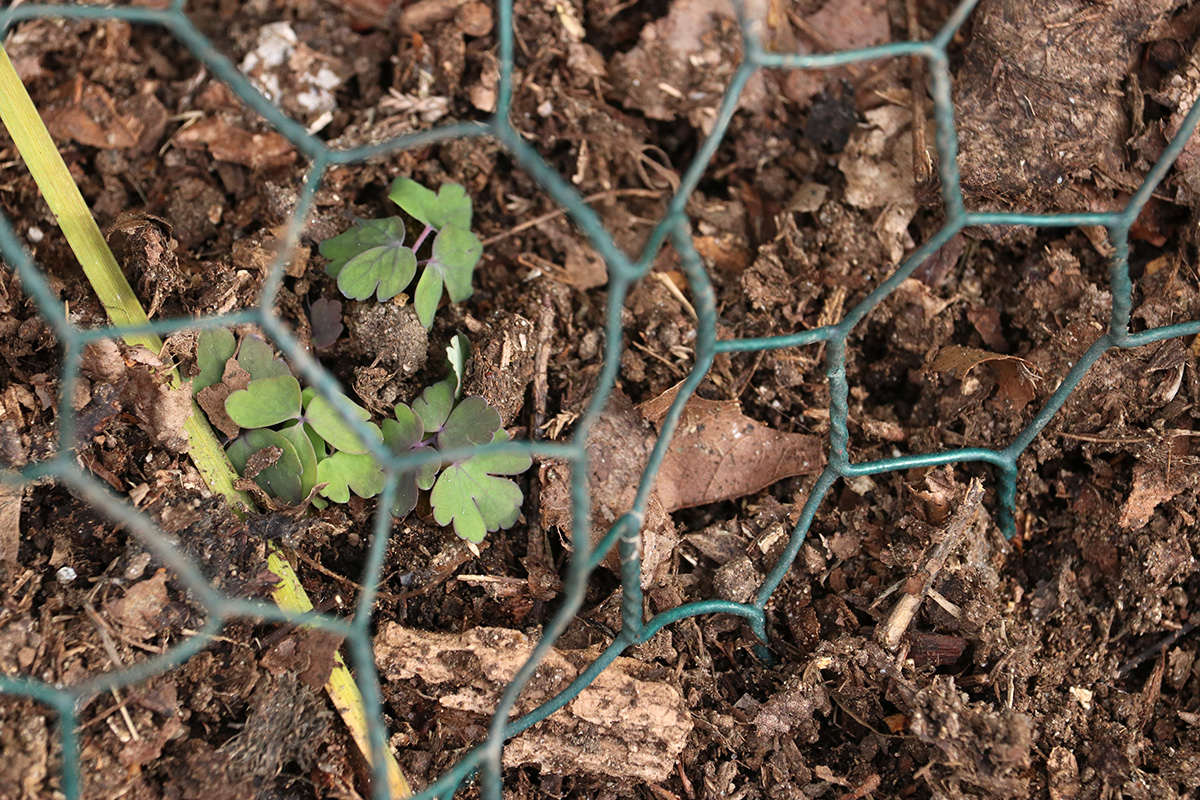
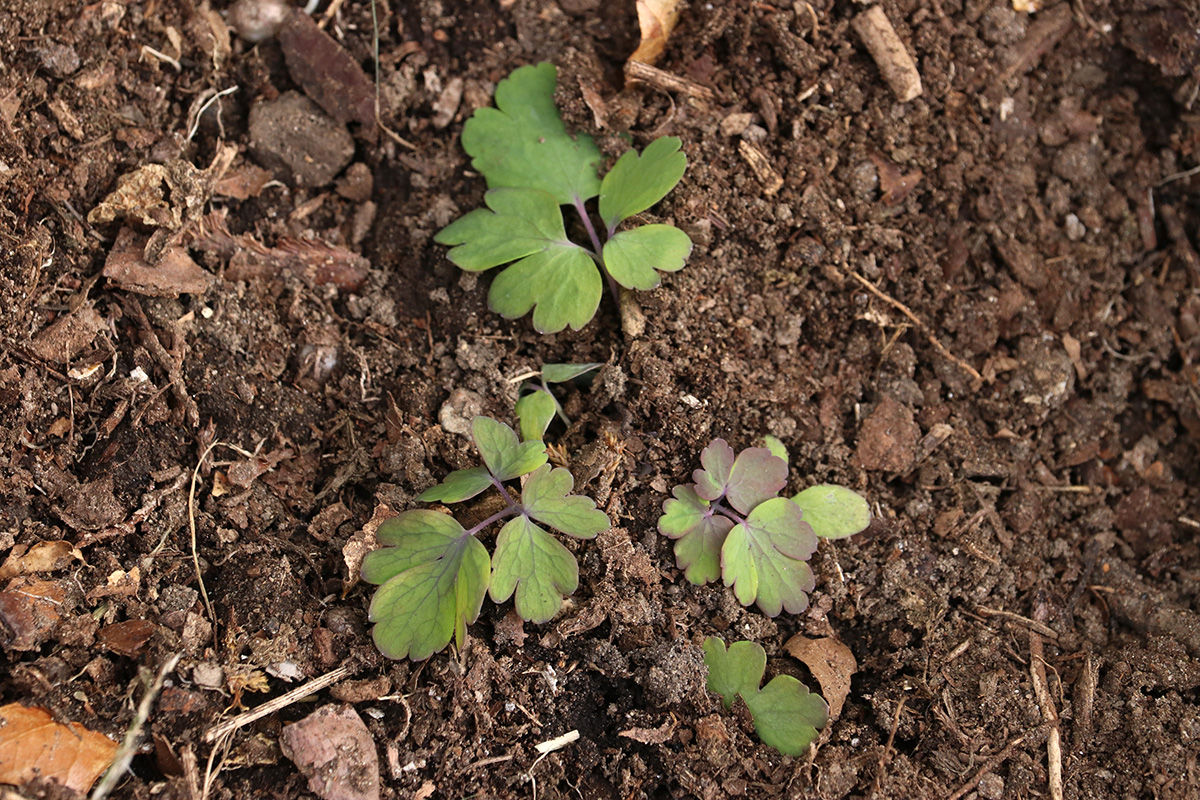
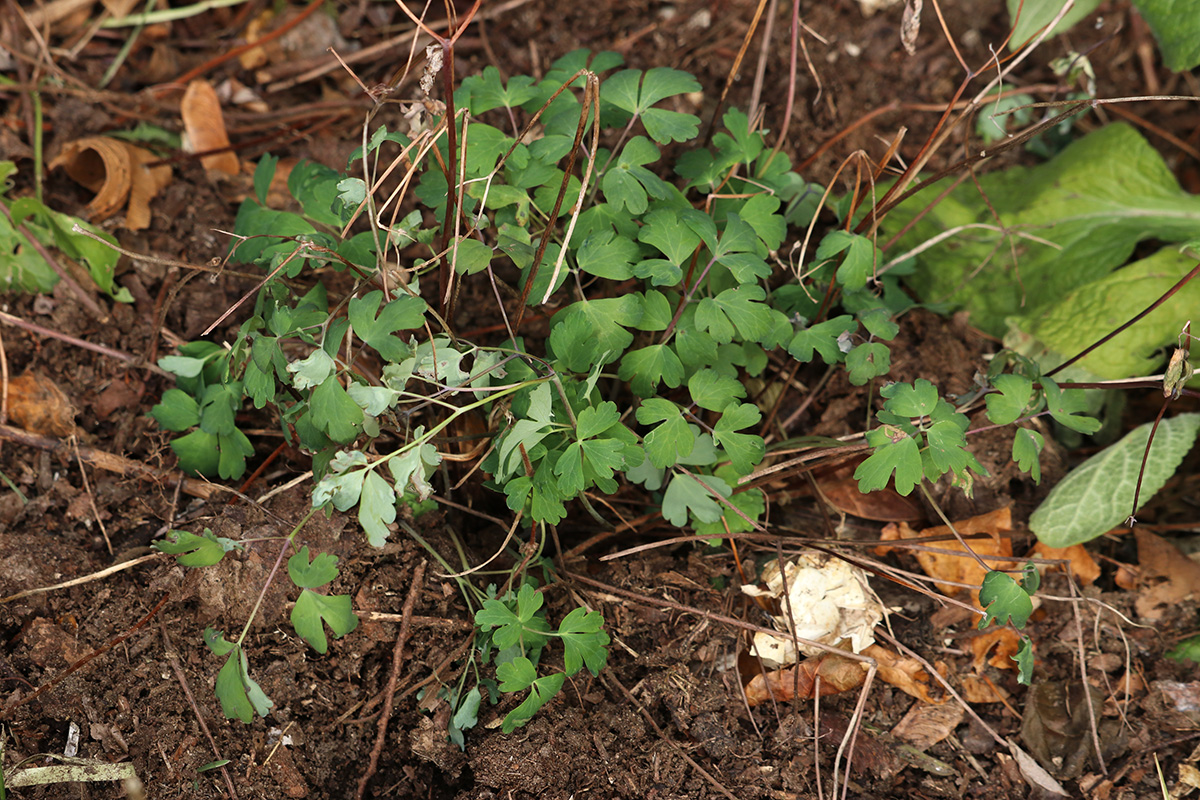
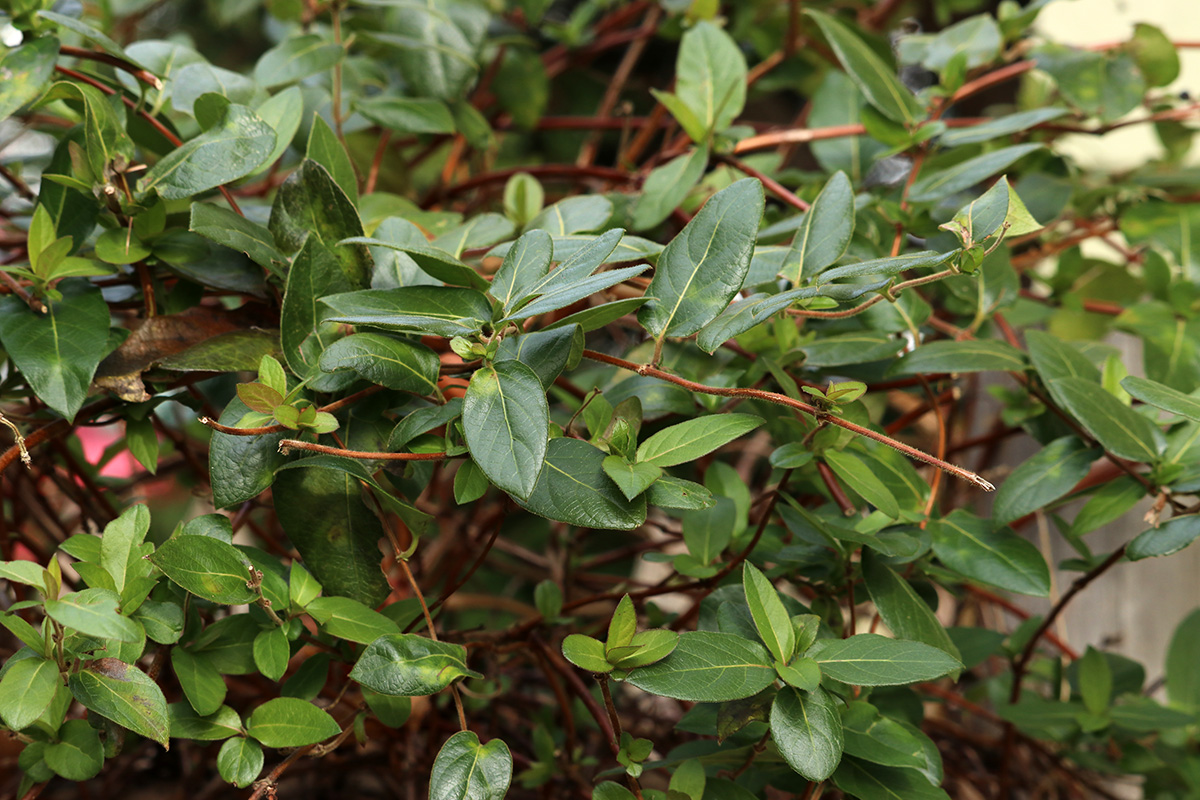
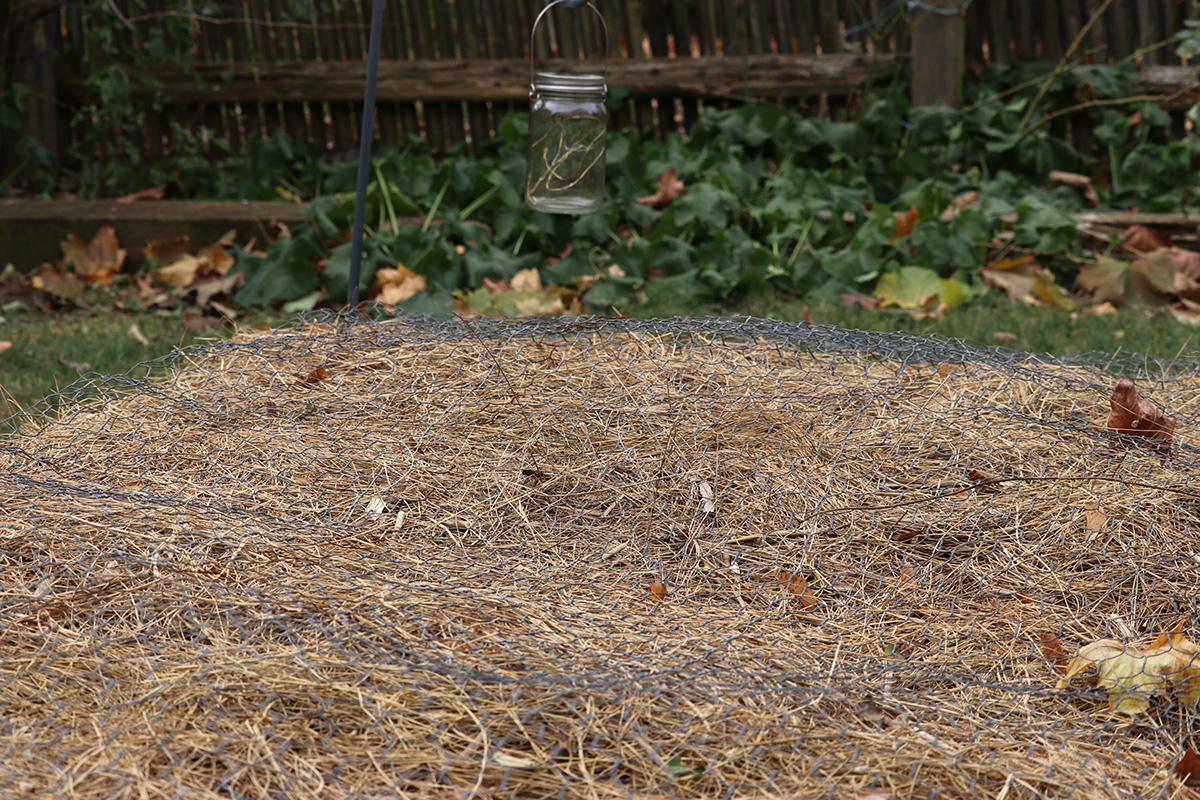
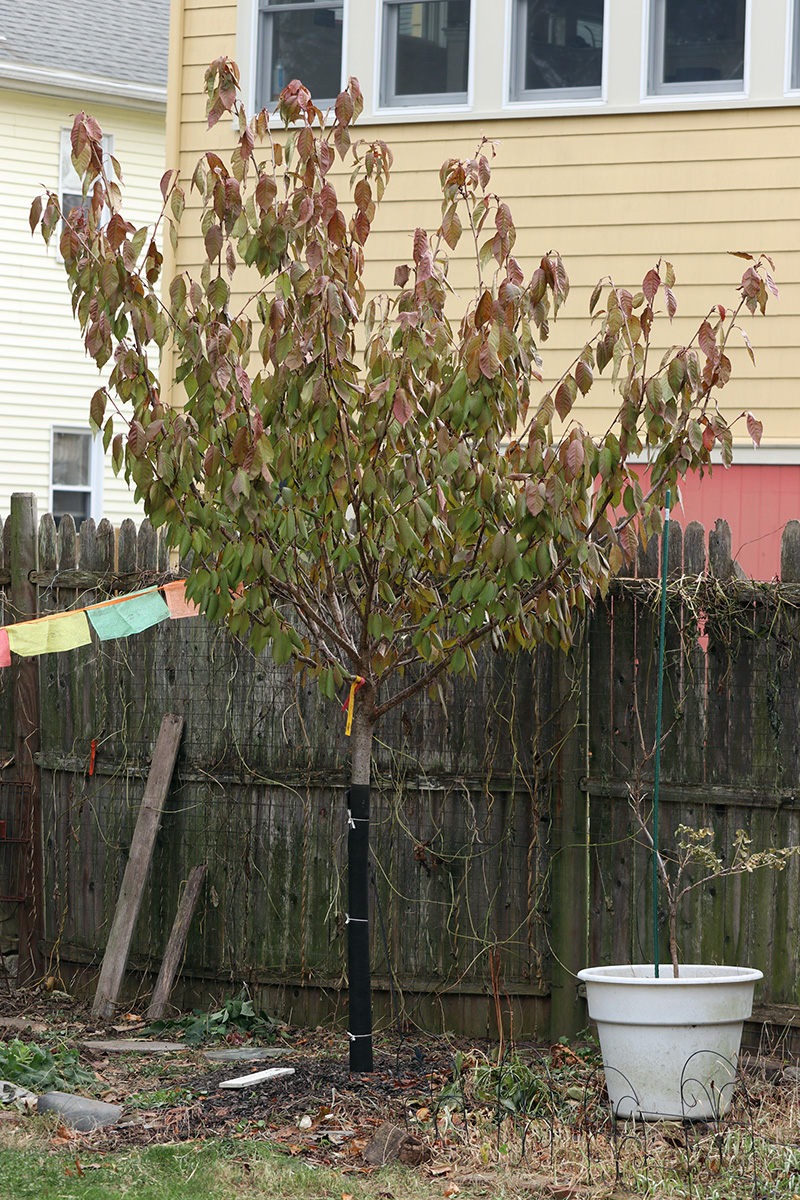
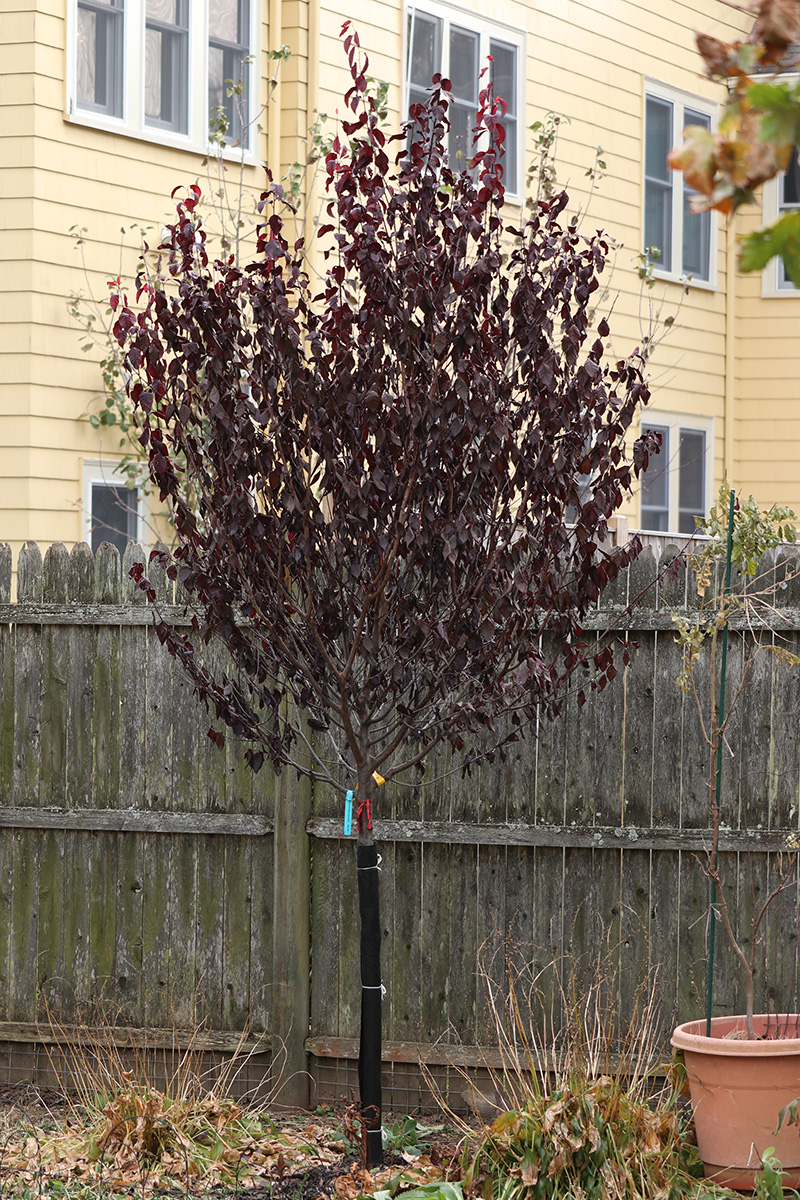
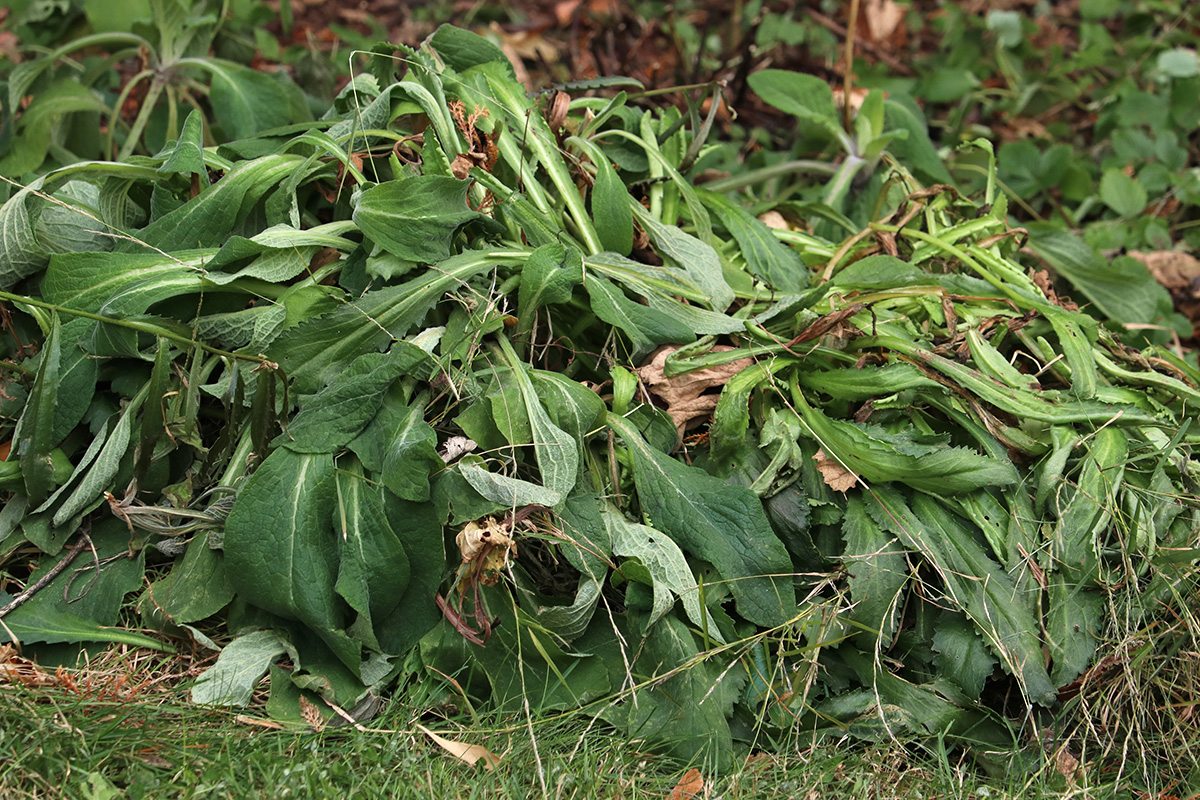
 in the backyard, the shasta daisy leaves that seemed to be doing so well over the weekend have now all began to wilt. likewise the same is happening to the lunarias and foxgloves. not many soft leaf plants are resilient enough to survive prolong subzero temperatures. there are exceptions of course: the columbines seemed to be unfazed, even though the dirt it seems to be growing out from appeared to be frozen. likewise, the honeysuckles seem to be doing okay; as i recall, they can't stay green for long and eventually will shed all of their leaves. finally, a mason jar i left outside to use as a makeshift dahlia vase had shattered after the water inside turned to ice.
i returned to cambridge a bit before noon (thanking the god of motorcycles that the engine was able to start without problems). i wore my winter gloves inside of my leather motorcycle gloves, which seemed to help despite giving me fat fingers, but only for a few additional minutes before they started to hurt again. i got a good parking spot - one of the few spots that actually gets a little sun exposure. for lunch i heated up a hot pocket. i was kind of disappointed there was new impeachment hearing today (there will be one tomorrow though). even though it felt warm after riding in the freezing cold, eventually it started feeling cold again inside the house. i turned up the heat from 60° to 63°, turning it back down once it reached the target temperature.
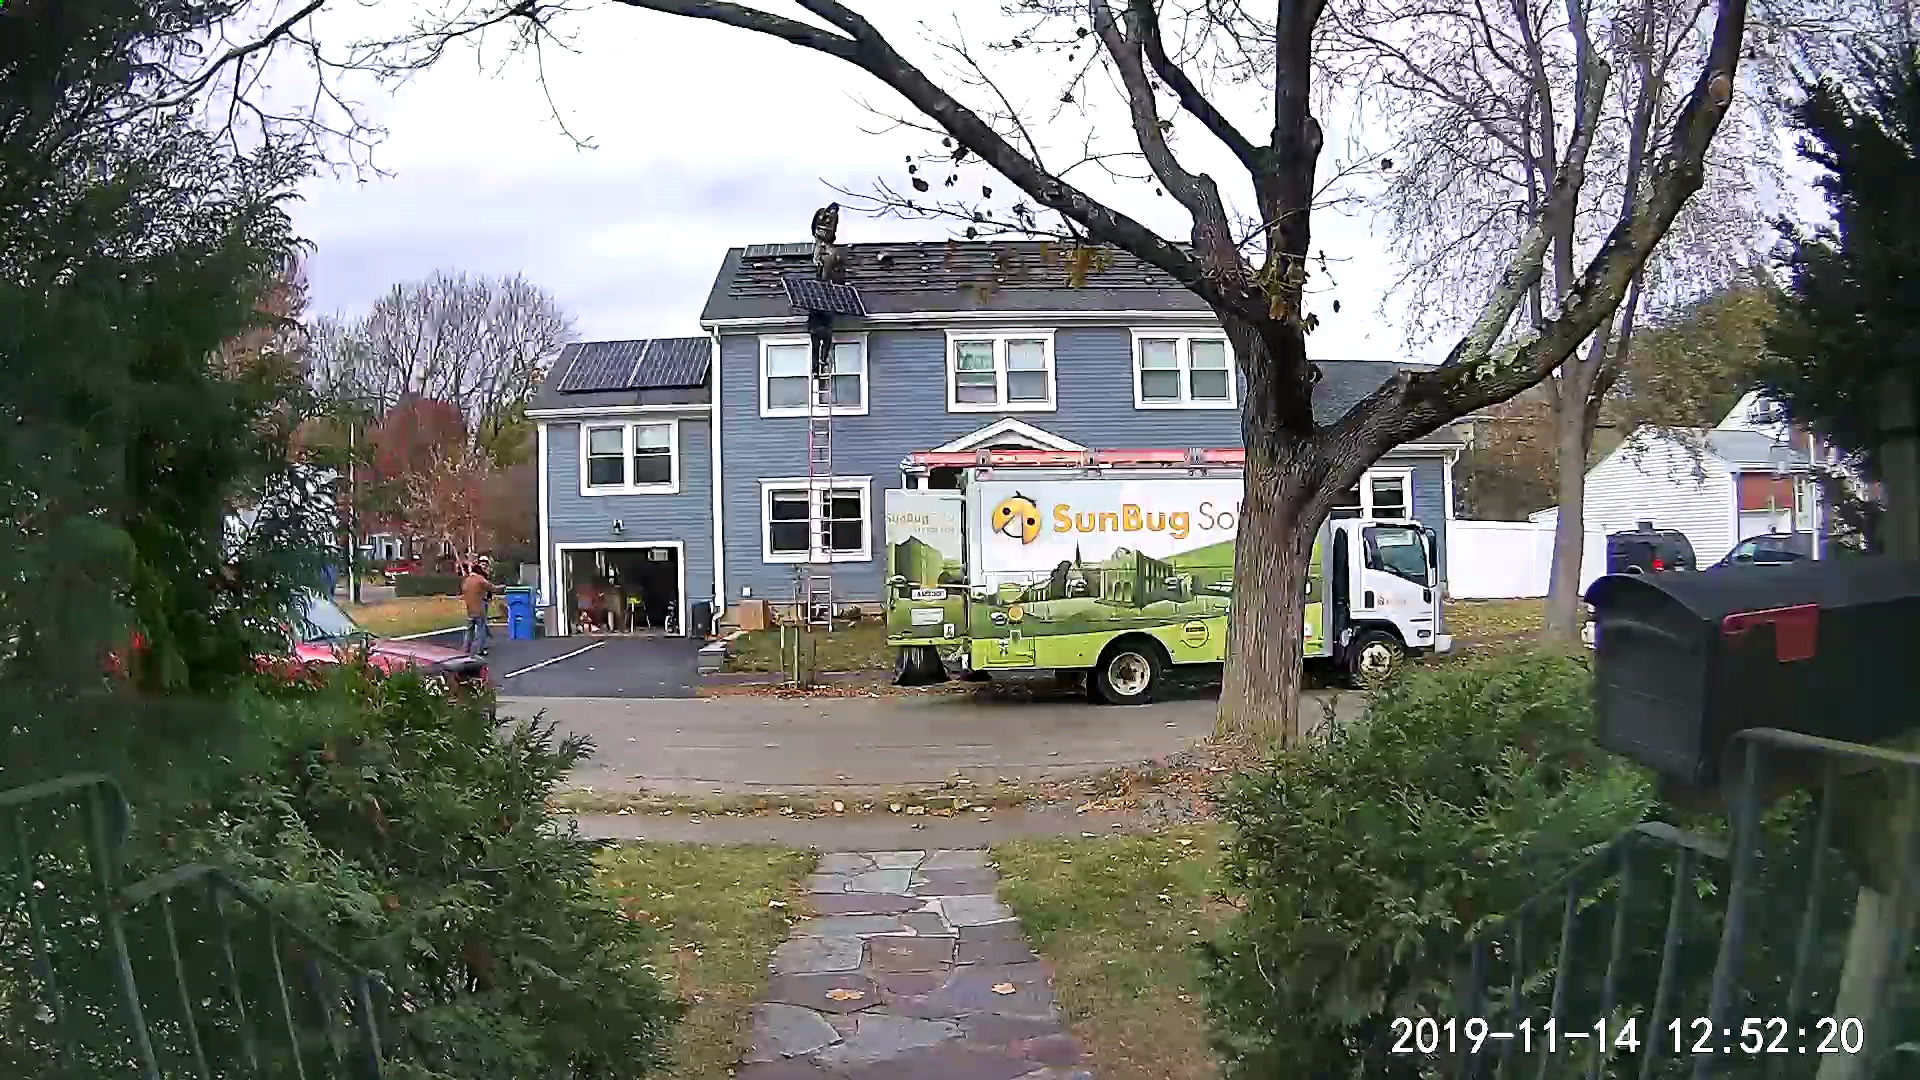
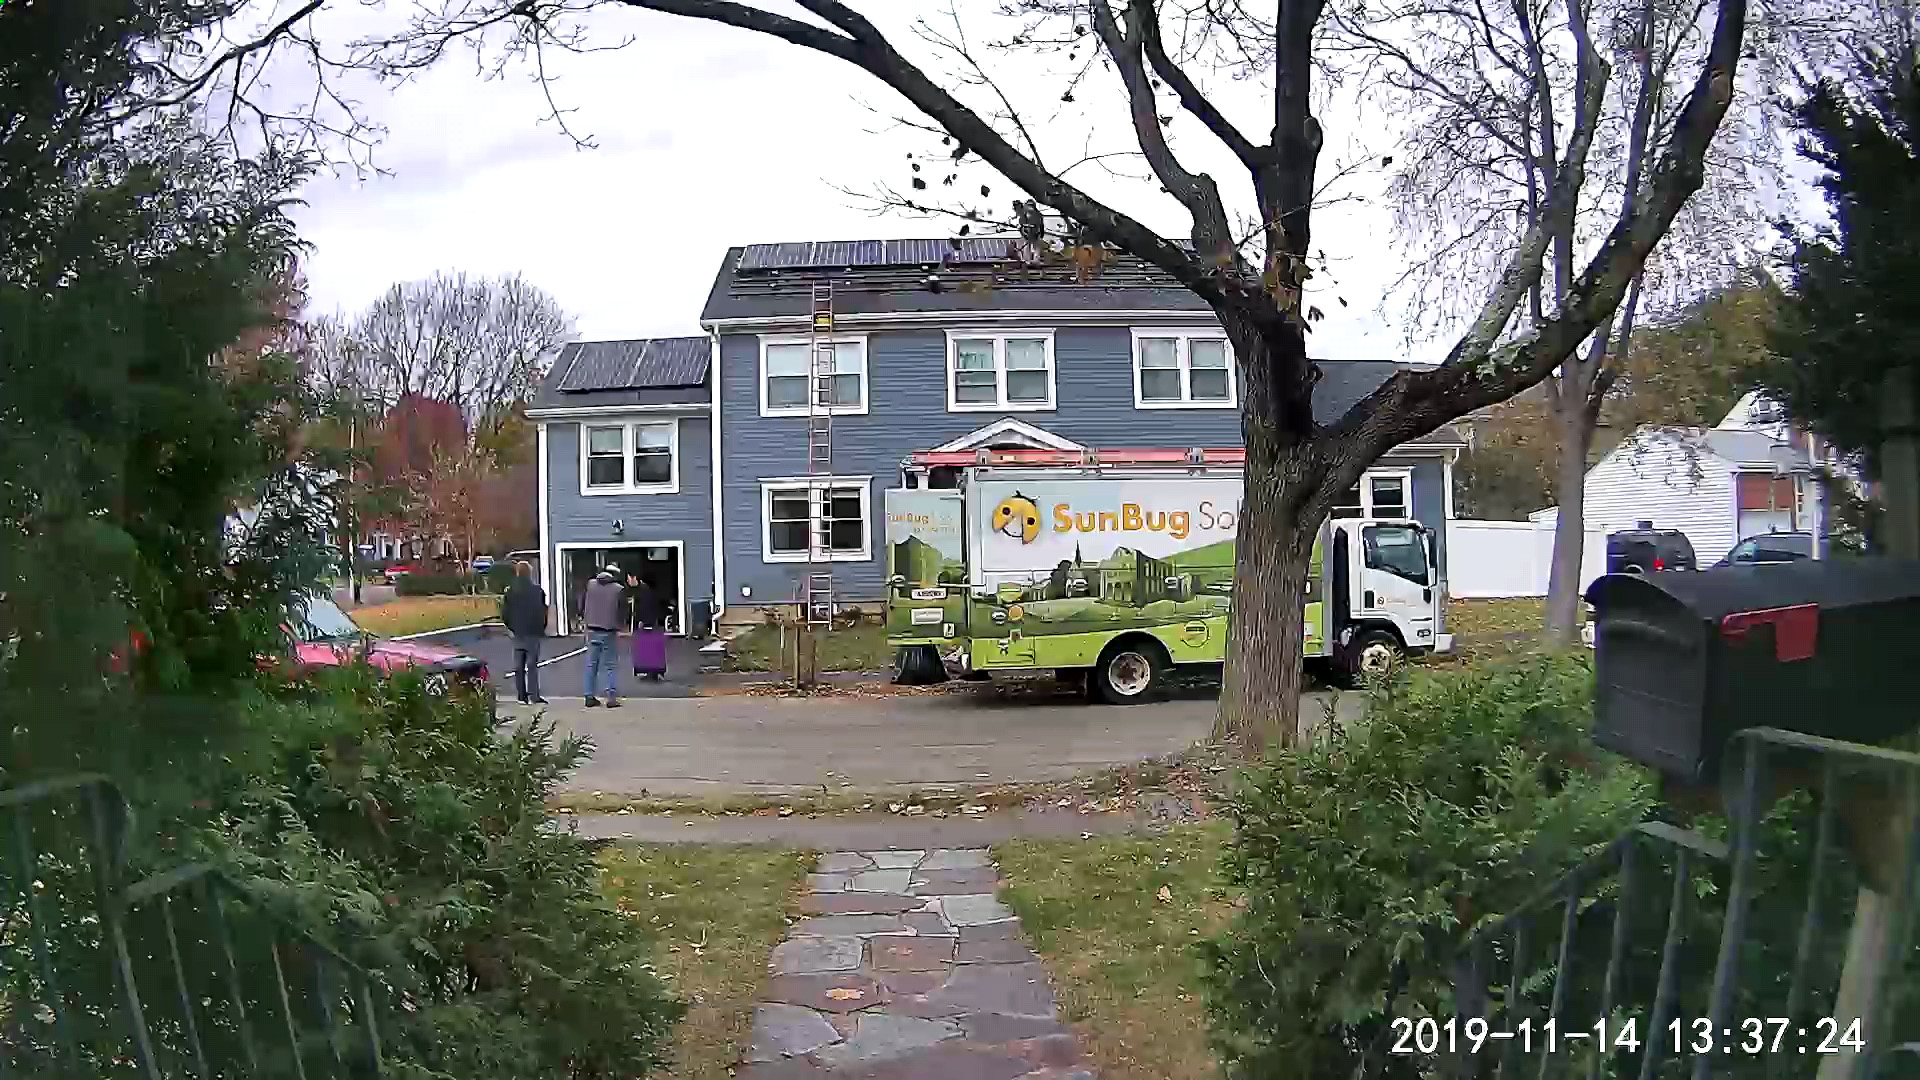
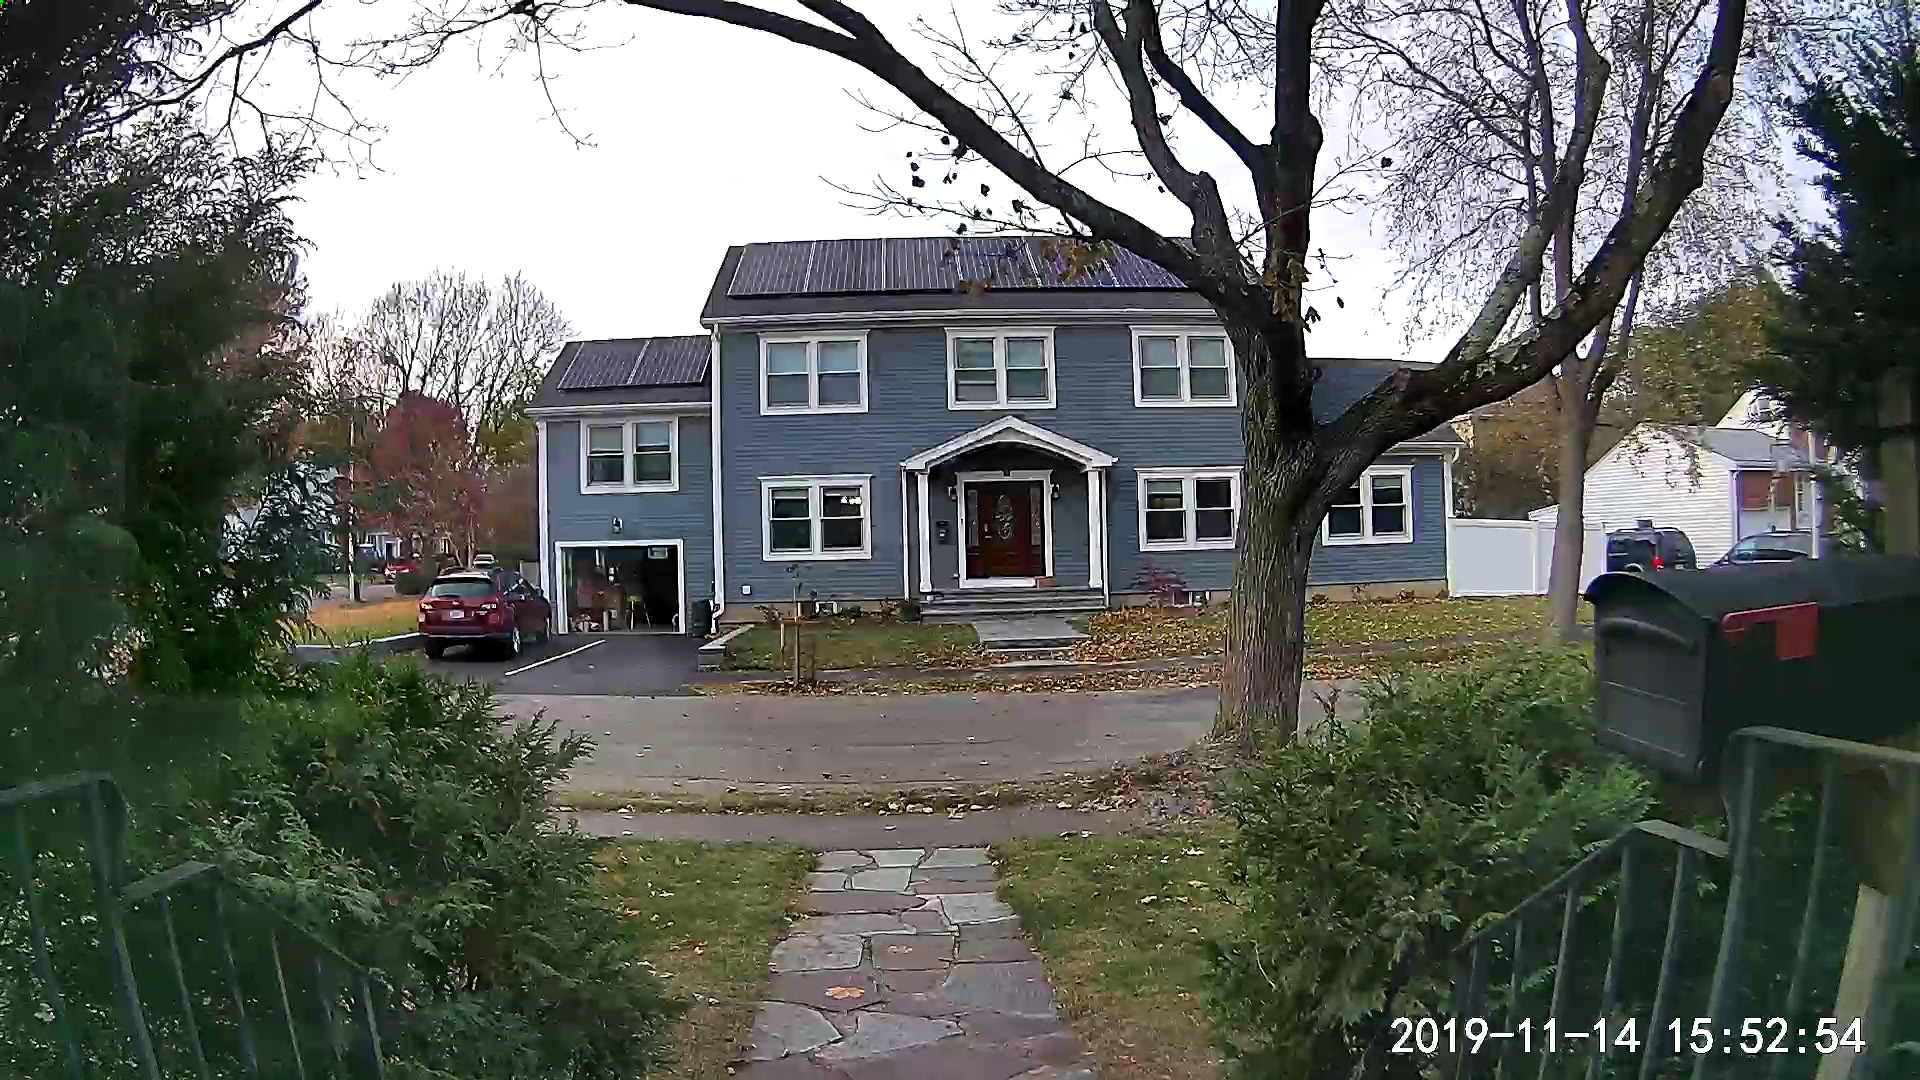
around noontime i casually took a peek at the webcam stream to see the solar contractors' progress, and was shocked to see they were already putting up solar panels. but how? i called my father to let him know what was happening. he said mostly likely the panels were already there, just in the backyard (where i couldn't see it) instead of in front of the house. i quickly remotely set up a time lapse video, 3 seconds a frame (3 seconds is the lowest setting on the wyzecam). it's actually kind of ironic, the best view of our neighbor's new solar panels is actually from our house. his roof is high enough that he won't ever really get a good look at his panels, at least not as good a view as us.
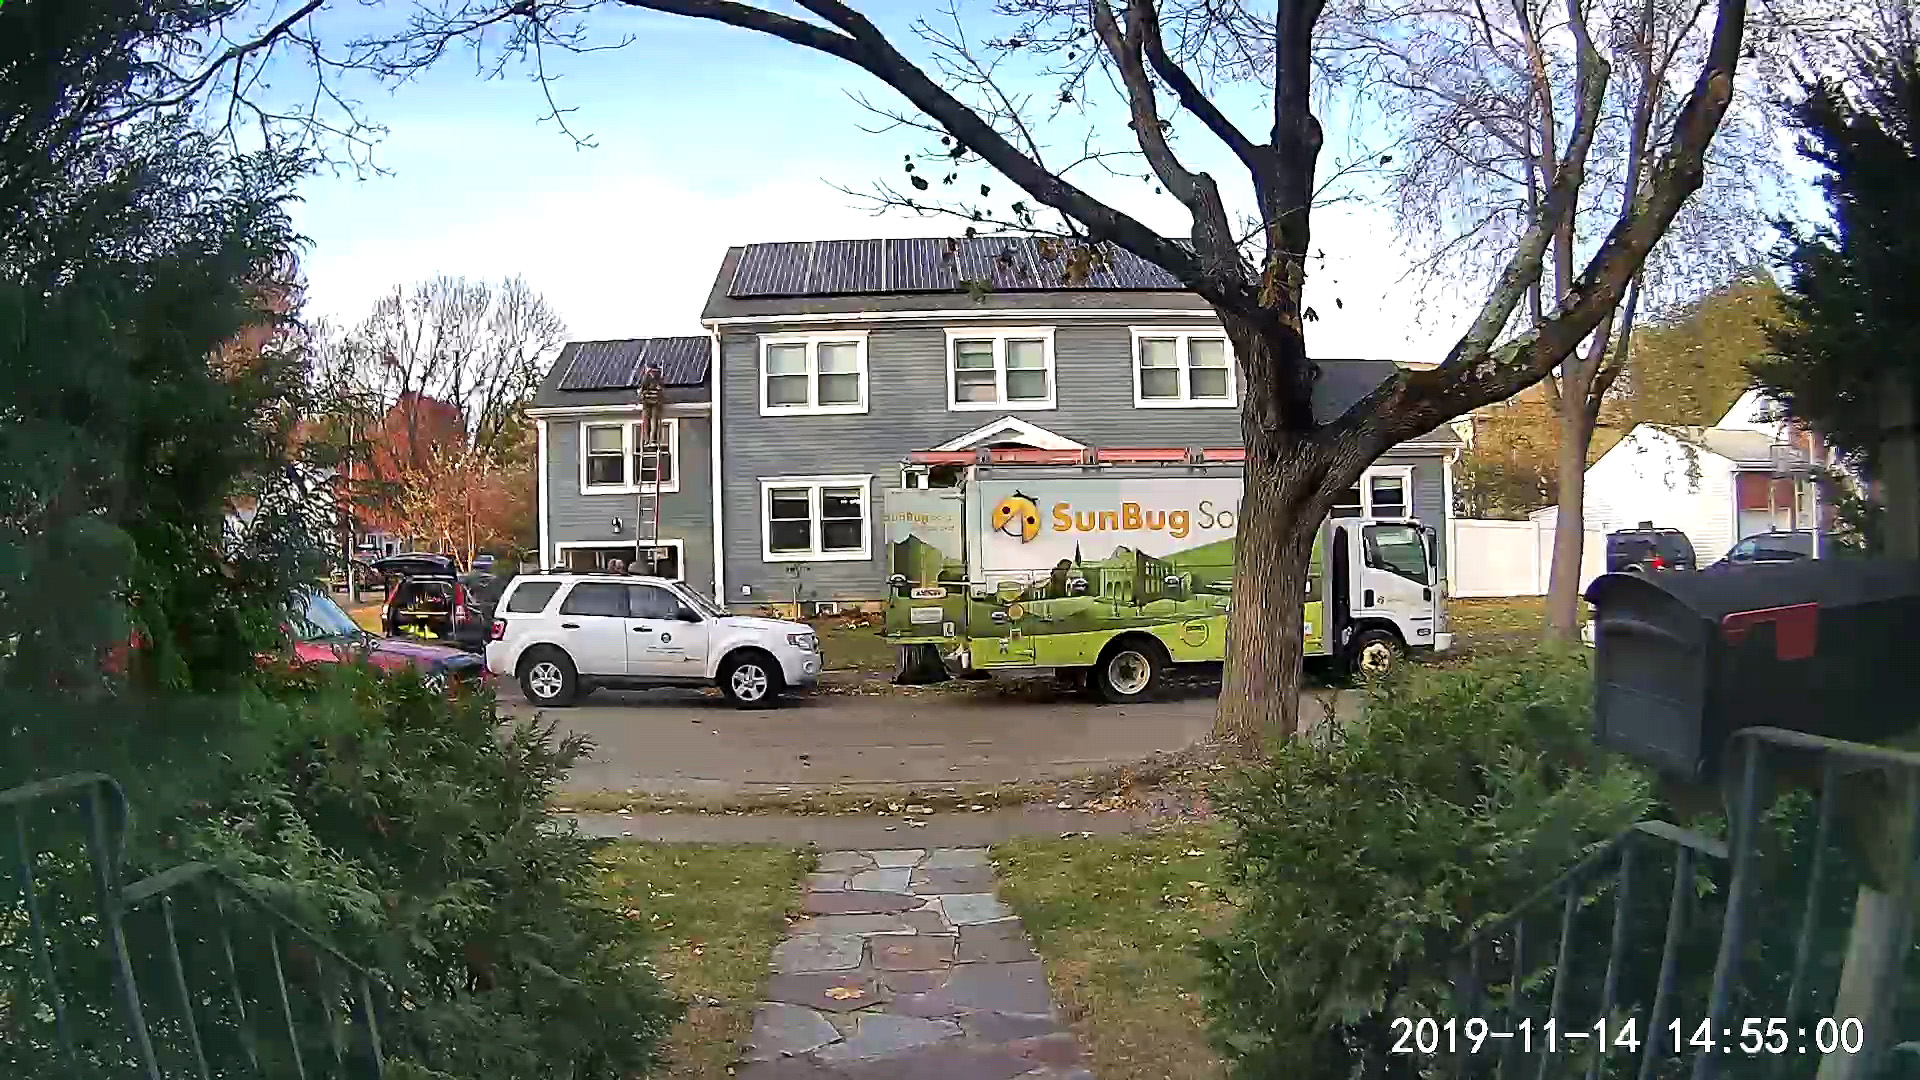
throughout the day i'd check the webcam stream, every time a few additional panels were added. unlike when we had our install, everything seemed to operating like clockwork. in the afternoon, after they finished putting up all 34 panels, the town inspector showed up to give them the sign off. the only thing i don't know is what type of panels. i was going to ask one of the contractors, but when i left the house earlier they seemed to have disappeared on their lunch break.
| no knead bread (1 3lbs. loaf) | |
|
3 cups flour 1/2 tsp yeast 3/4 tbsp kosher salt 1-1/2 cups warm water |
mixing bowl covered cast iron dutch oven plastic wrap parchment paper additional flour (dusting) |
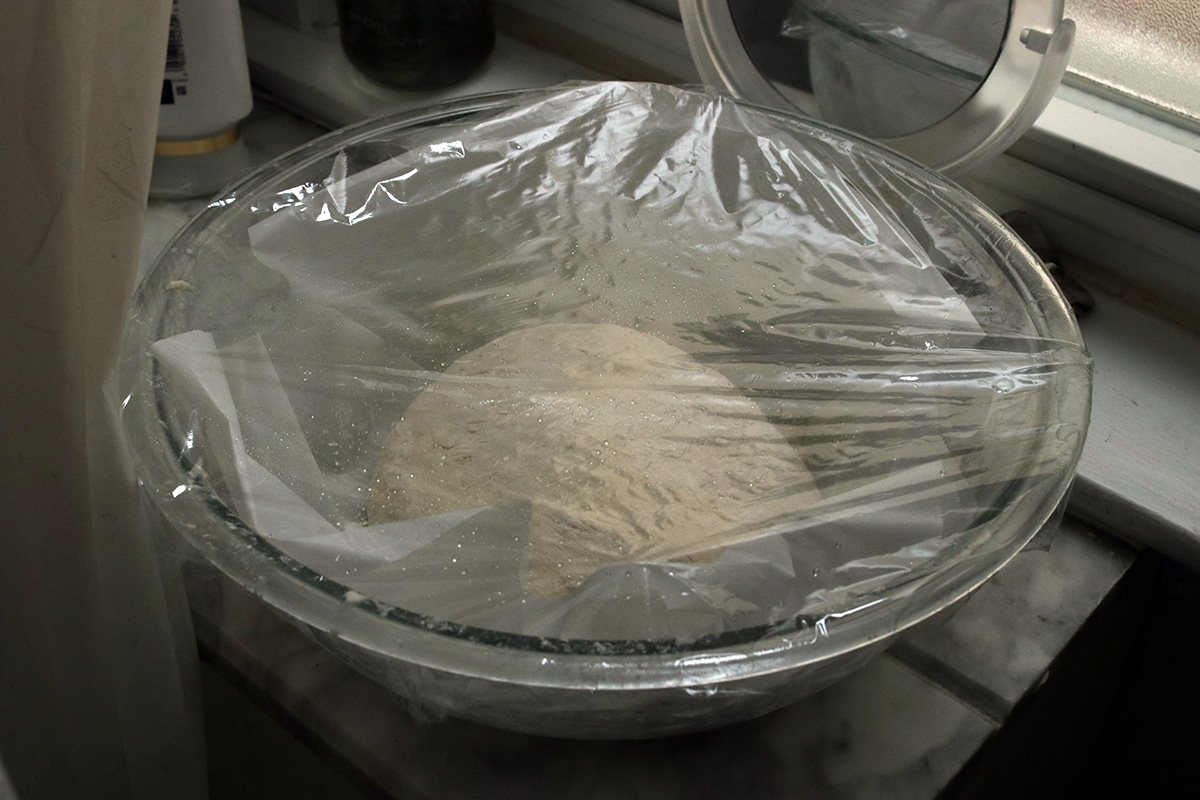
| mix bread ingredients in bowl then cover in plastic wrap and place somewhere warm for 18-20 hours. scrape sticky dough onto floured surface. with flour-coated hands, pull corners of dough into center, forming a tight ball. put seam side down on flour-covered parchment paper then place back into bowl for 2nd rise. cover with plastic wrap to prevent drying, let rise for 2 hours. 30 minutes beforehand, put dutch oven (cover on) into oven at 450°F. plop risen dough from parchment paper into dutch oven, seam side up. bake 30 minutes covered. bake 15-20 minutes uncovered for browning. | |
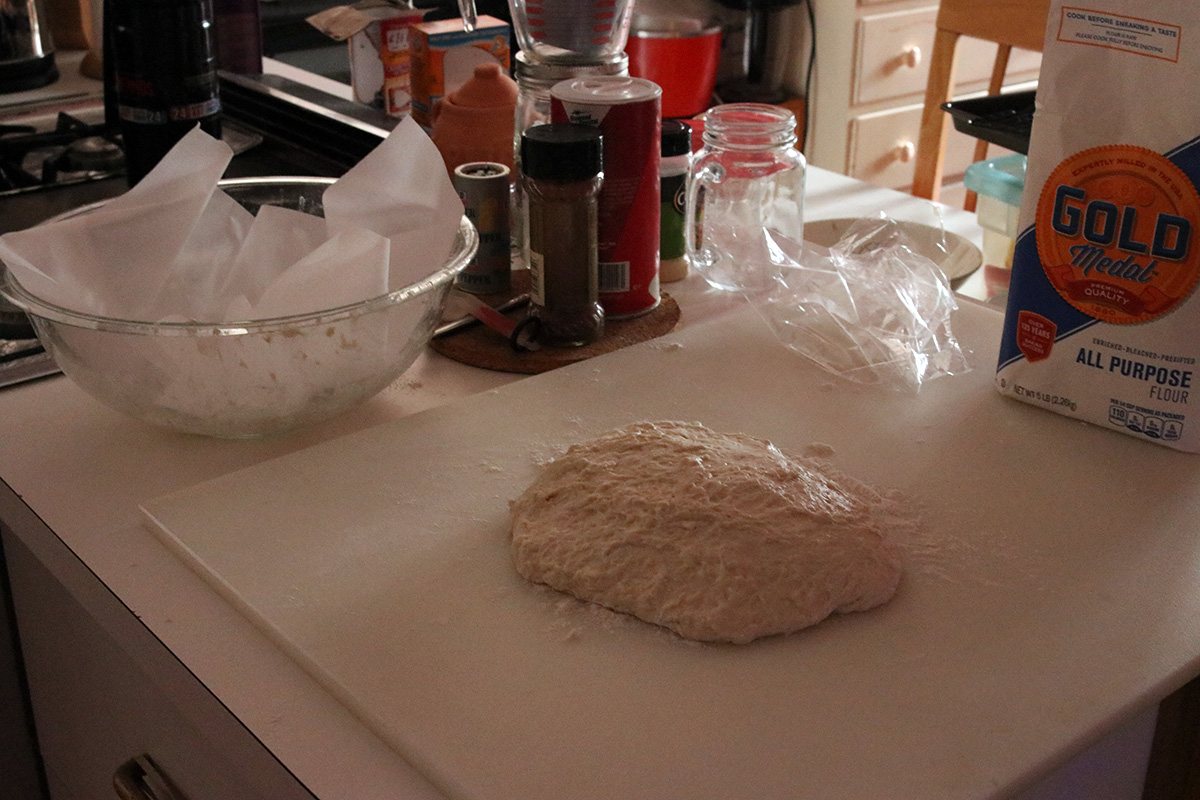
motivated by my no knead bread failure last night, i vowed to make a better loaf. i mixed up a new batch of dough yesterday. this time i used more precise measurements, more importantly the amount of warm water at 1-1/2 cups. already i could tell the dough was not as wet as last time. i left it to rise overnight in the bathroom, it had already grown larger than the previous dough in far less time, all good signs.
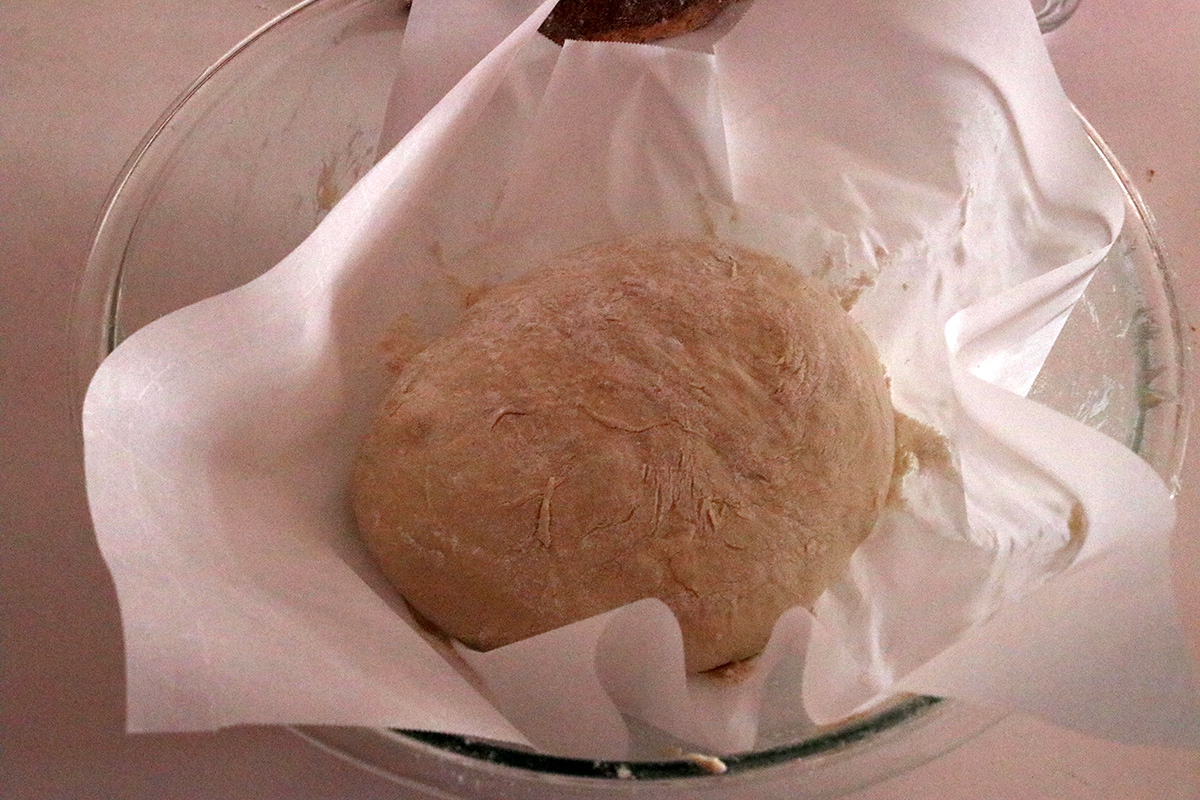
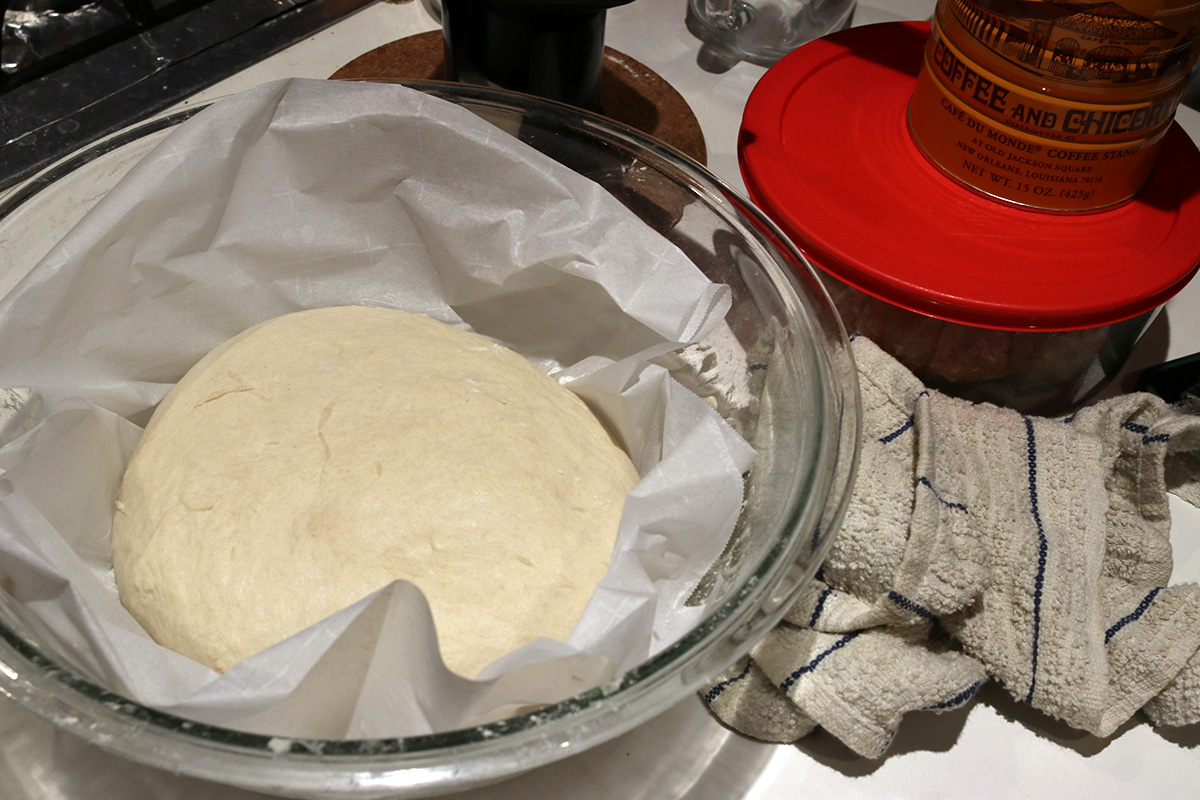
by the early afternoon today, when i was about to take out the dough and form it into a ball for the 2nd rise, the dough had grown so much in the bowl that i was afraid it might touch the plastic wrap cover. i still couldn't quite figure out how to form the dough. it wasn't as sticky and wet as yesterday, but it was still sticky. after reading some techniques online, i finally figured out a solution. first i scooped out the dough onto a large floured cutting board. that prevented it from sticking. then with flour-coated hands, i pulled up the sides of the dough so it formed into a ball. i then placed this dough ball onto a floured parchment paper (taking the place of a floured towel), and put the dough back into the bowl for the 2nd rise. i covered it up with plastic wrap and placed it back into the warm bathroom. in hindsight, i could've done away with the parchment paper, instead just flour the bowl so the dough doesn't stick to it.
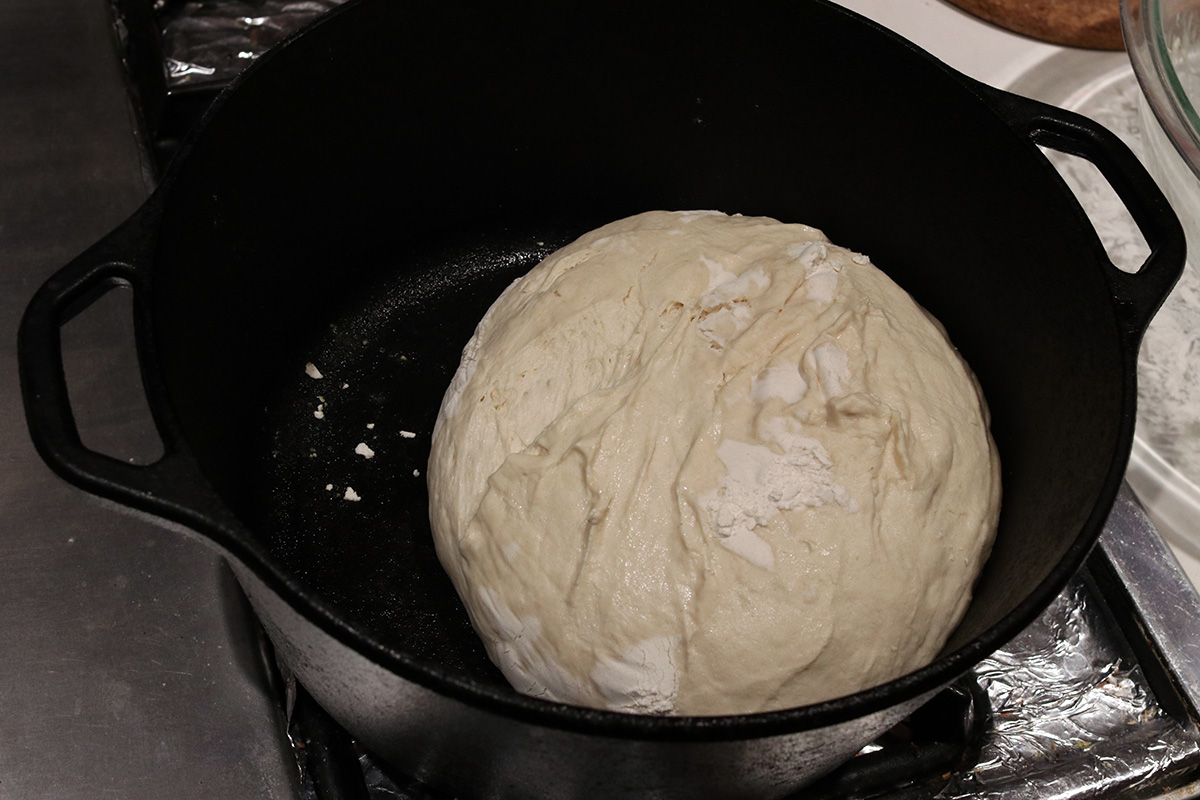
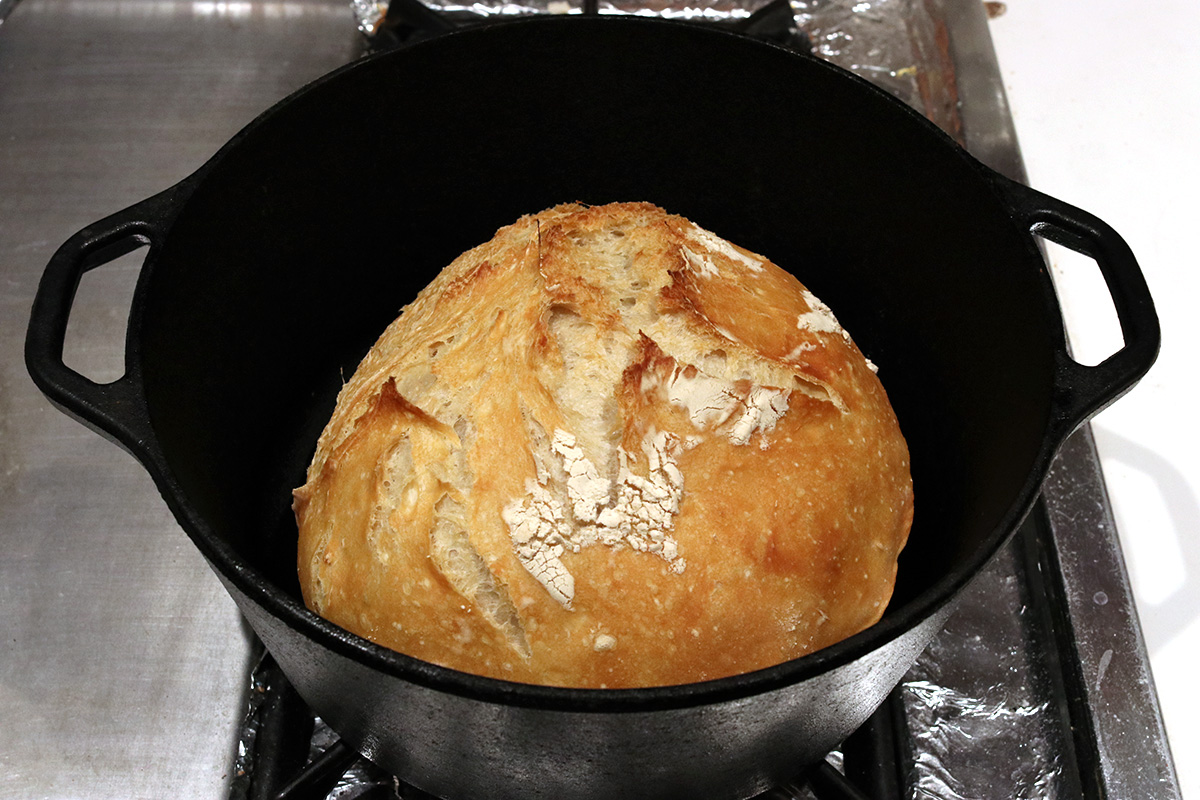
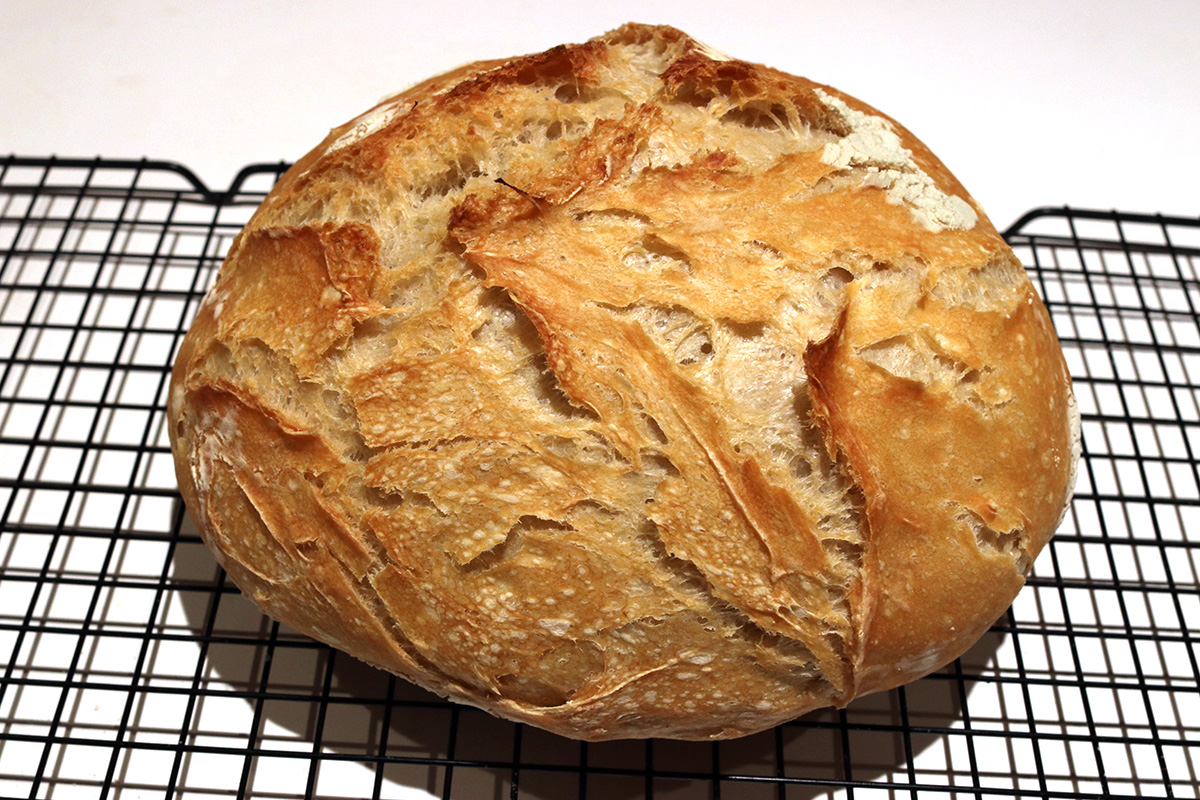
the dough was ready to be baked by 3pm, but i forgot to turn on the oven, so the baking was delayed until 3:20pm. the dough looked like it was sticking to the parchment paper, but when i inverted it above the dutch above, it plopped into place effortlessly. it was a little off-centered, but gravity would work its magic and the dough would center itself as it baked. it was a perfect ball shape, with rustic swirls from where i pulled the edges of the dough.
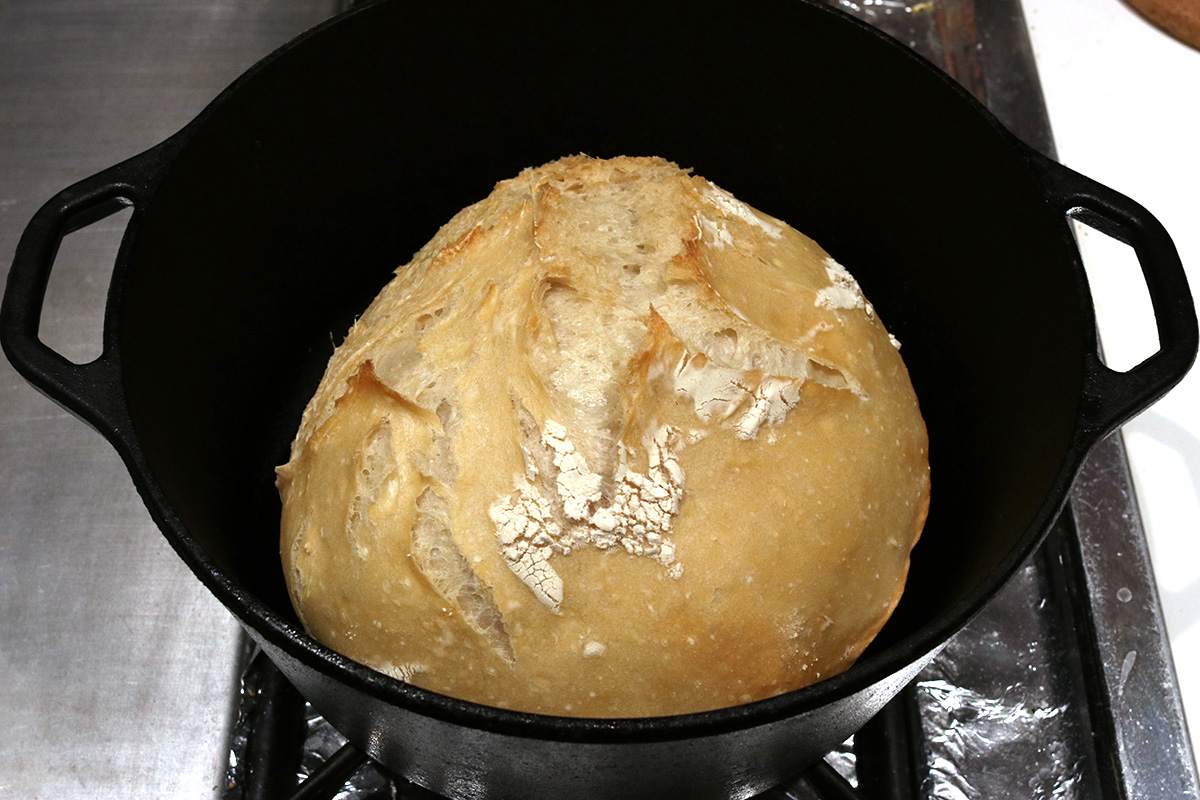
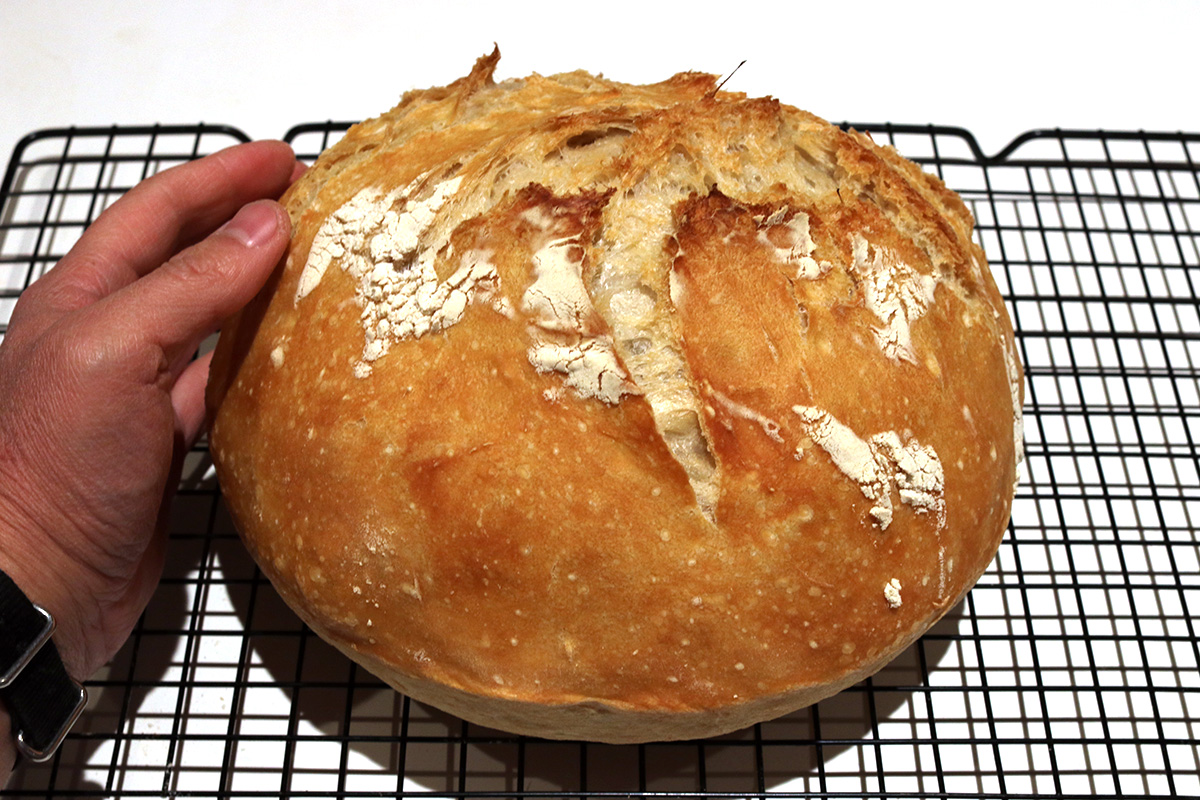
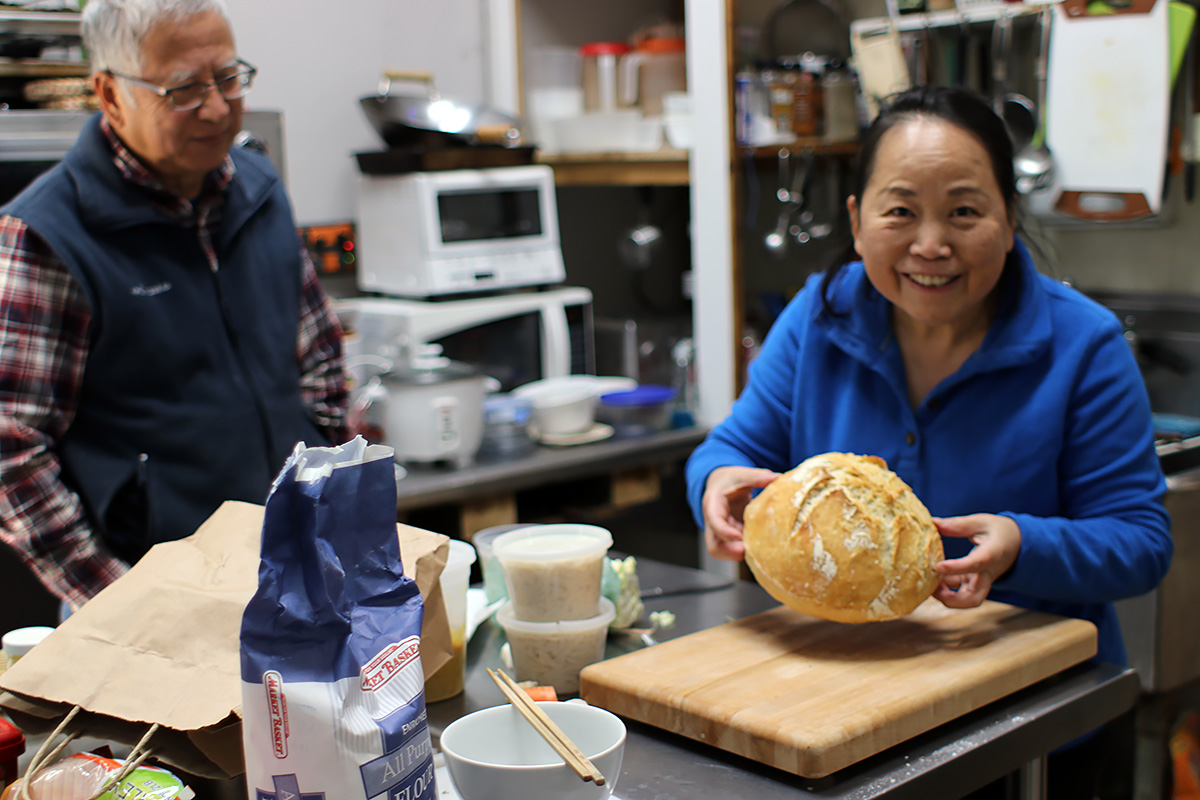
30 minutes later i took it out of the oven. taking off the cover revealed a beautiful round puffy bread ball. i baked it for 15 more minutes uncovered. during that time i got dressed so i could leave as soon as the bread finished baking. taking it out of the dutch oven and letting it rest on a cooling rack, i could hear the bread crackling. i put the bread inside of a paper bag and put the paper bag inside of an insulated tote before bicycling to the cafe to present my no knead bread.
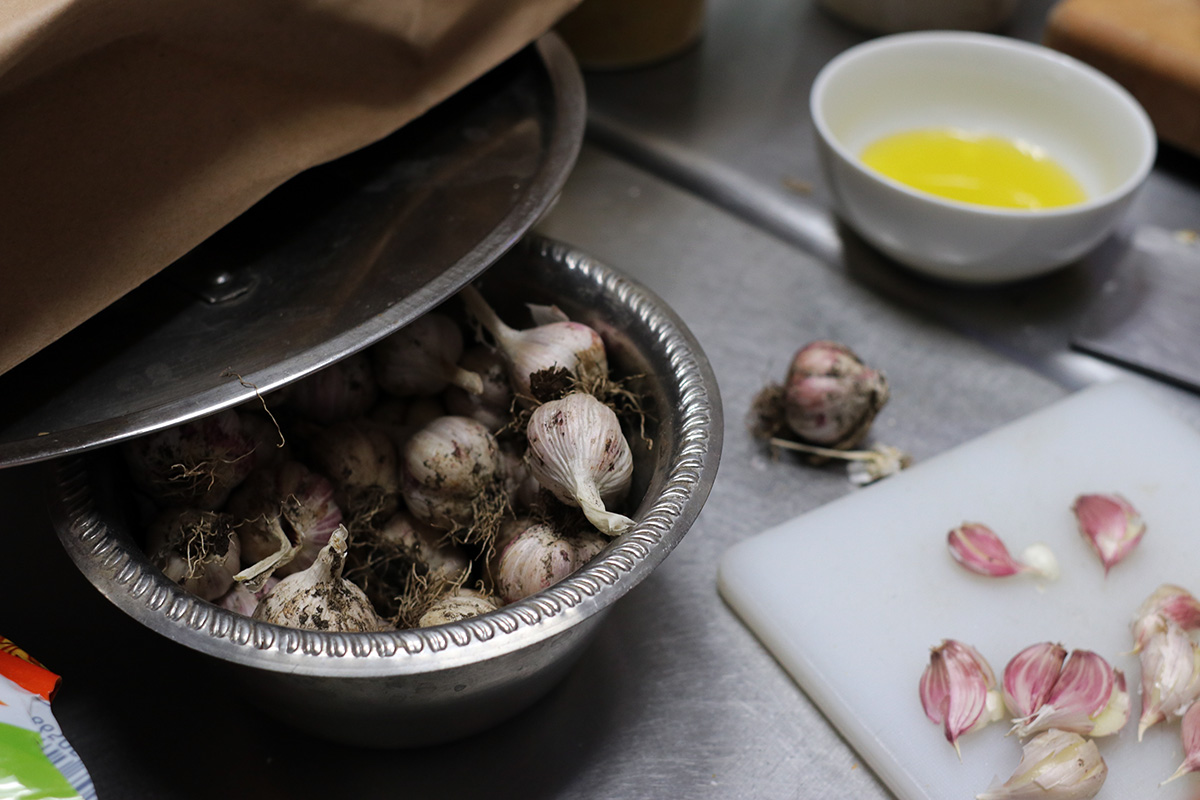
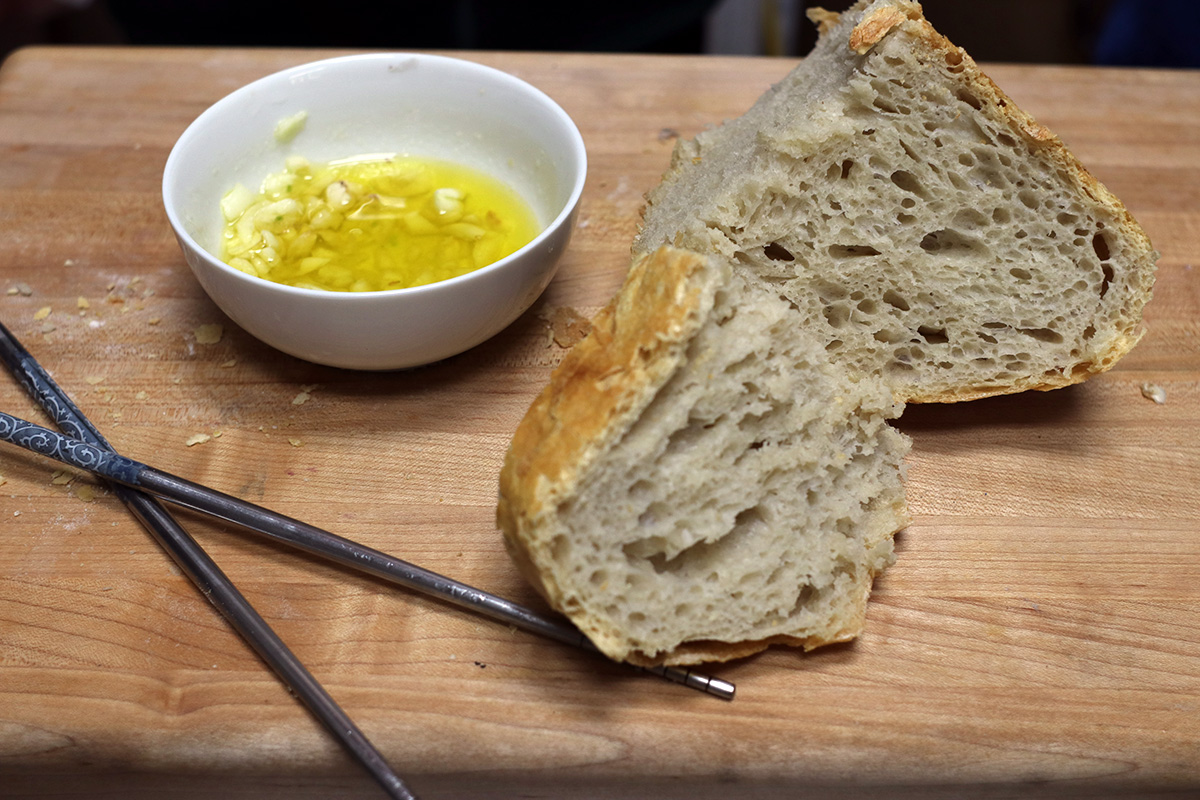
my 2nd aunt was there as well, as we made quick work of half the loaf, using an olive oil-garlic-salt dipping sauce. sliced open, it was still warm and soft on the inside.
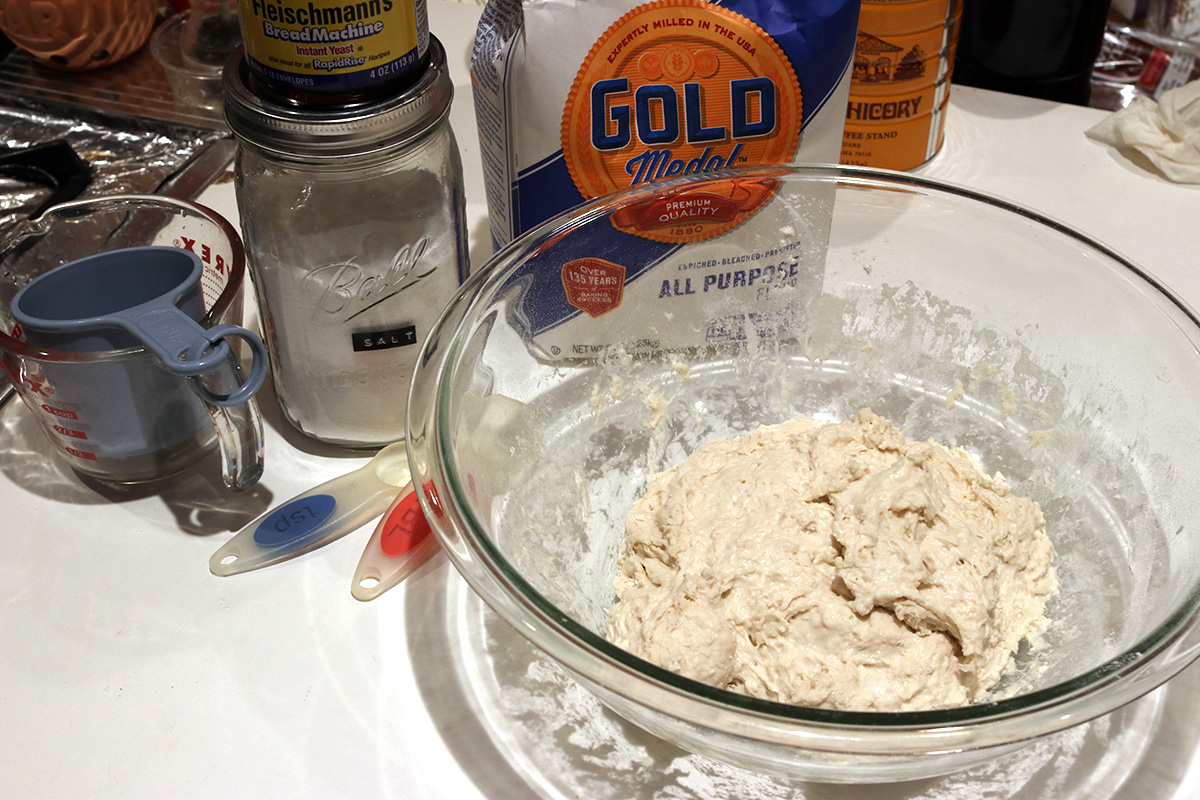 when i returned home, i whipped up another batch of no knead bread dough, to see if i could repeat the success i had tonight. i measured out all the ingredients (though didn't weigh them), making sure i had exactly 1-1/2 cups of warm water. i then set the dough (covered) in the bathroom to let it rise overnight.
 i made a ham & cheese grilled sandwich for dinner along with a bowl of salad. besides the ham (virginia) & cheese (american), i also slathered a layer of mayonnaise. the salad was an robust italian dressing.